
How to Apply a Stencil to Fake Skin (and Make It Stay Put)
Direct answer
To apply a stencil to fake skin, wipe the practice sheet only as its manufacturer directs to lift factory residue, let it dry fully, then rub in a thin, even layer of transfer product until it is tacky rather than wet. Lay the stencil down once, press firmly across every line for 30 to 60 seconds without sliding, peel from one corner, and let it set longer than you would on a client, often 20 minutes or more, before you wipe or tattoo. Beading means residue or too much product; fading on the first wipe means it did not set. InkLine can print the same design at several line weights or sizes so one practice session tests all of them.
Practice skin takes a stencil differently from a person. It is denser, it carries no body heat, it does not absorb transfer product the same way, and many sheets arrive with a slick residue from manufacturing. Use the method you would on a client and the stencil often beads, fades on the first wipe, or smears under your glove. A few adjustments fix most of that, and the same session can teach you which line weight and size actually hold.
The method that holds on synthetic sheets
The short version is: clean surface, thin product, firm pressure, long wait. Each step matters more on a practice sheet than on skin.
Start with the surface. Many silicone and synthetic sheets come out of a mold with a release agent on them, a faint slickness you can sometimes feel under a clean fingertip. Transfer product will not grip that film. Wipe the sheet the way its manufacturer says to, because some materials react badly to certain cleaners and the maker knows its own product. Then let it dry completely. Leftover moisture or cleaner is the single most common reason a stencil beads up into droplets instead of forming a film.
Fix the sheet down. Tape a flat sheet to a hard table on all four edges. If you are using a curved form such as a practice arm or hand, make sure the sheet is fully seated with no air pocket under it. A sheet that flexes or slides while you press gives you doubled or ghosted lines that look like a bad print but are really movement.
Use less transfer product than you think. Rub a small amount over an area a little larger than the design until the surface goes tacky. If you can see standing liquid or a glossy sheen, there is too much, and the excess will dissolve the carbon and spread every line outward. On synthetic skin, the excess has nowhere to go: real skin absorbs some of it, while a practice sheet leaves it sitting on top.
Press like you mean it. Lay the stencil carbon side down in a single move. Do not slide it or lift it to adjust. Then press firmly with a flat palm and fingers across every part of the design for 30 to 60 seconds. Practice skin is firmer than real skin and does not mold itself around the paper, so contact comes entirely from your pressure. Work from the center outward so you do not trap air.
Peel slowly, then wait. Lift one corner and watch the lines come up. If a section looks pale and the paper has not moved, lay it back down and press that area again. Once the sheet is off, leave the stencil alone for at least 20 minutes. Without body heat and with little absorption, synthetic surfaces take longer to fix the lines than a client’s arm does. A cool or humid room stretches that further. The most common practice-session failure is starting too early.
Flat sheets versus curved practice forms
A flat sheet is the easiest place to learn transfer technique. You can press evenly, nothing rolls away from you, and you can tape it so it cannot move. Start there until a stencil comes off clean and complete every time.
Curved forms, such as practice arms, hands and feet, add the problem real placements have: paper does not wrap a curve without creasing. On a curve, press from the center line outward and let the paper follow the surface in sections rather than forcing it flat all at once. Small designs on a gentle curve usually transfer in one go. Larger ones may crease at the edges; a small relief cut in the paper margin, away from any line, lets it lie flatter. If a design needs several cuts to sit down, that is useful information about how it will behave on a limb, and a reason to rethink its size or orientation before it reaches a person.
Even a curved form does not stretch, twist or move with breathing. That is the part practice skin cannot teach, covered below.
Common failures and what fixes them
| What you see | Likely cause | Fix |
|---|---|---|
| Product beads into droplets | Factory residue or leftover cleaner or moisture | Clean as the maker directs, dry fully, reapply thinly |
| Lines spread and blur as you press | Too much transfer product | Wipe off, let dry, use a thinner layer |
| Patchy lines, some areas missing | Too little product, or uneven pressure | Even, tacky coat; press every area with a flat hand |
| Doubled or ghosted lines | Sheet or paper moved during the press | Tape the sheet; place the stencil once without sliding |
| Lines look fine, then fade on first wipe | Not set long enough | Wait at least 20 minutes before touching it |
| Lines smear under your glove mid-practice | Wiping too hard, or too much product | Blot rather than rub; less product next time |
| Faint lines everywhere | Weak stencil print, or very thin lines | Reprint darker, or raise the line weight |
Two of those deserve a note. Smearing once you are working is usually technique rather than the stencil: on practice skin, wipe with light blotting motions and less liquid than you would on a person, because nothing absorbs the excess. And faint lines across the whole design usually start at the printer or the paper, not the application. If the stencil was weak on the sheet, no amount of pressure will fix it; the differences between transfer papers are covered in tattoo stencil paper explained, and a stencil that degrades before you even start is diagnosed in stencil smudged before the session.
Use practice sessions to learn line weight and size
Practice skin is cheap enough to treat as a test bench. Instead of one stencil per sheet, put several variations side by side and compare them under the same product, pressure and set time.
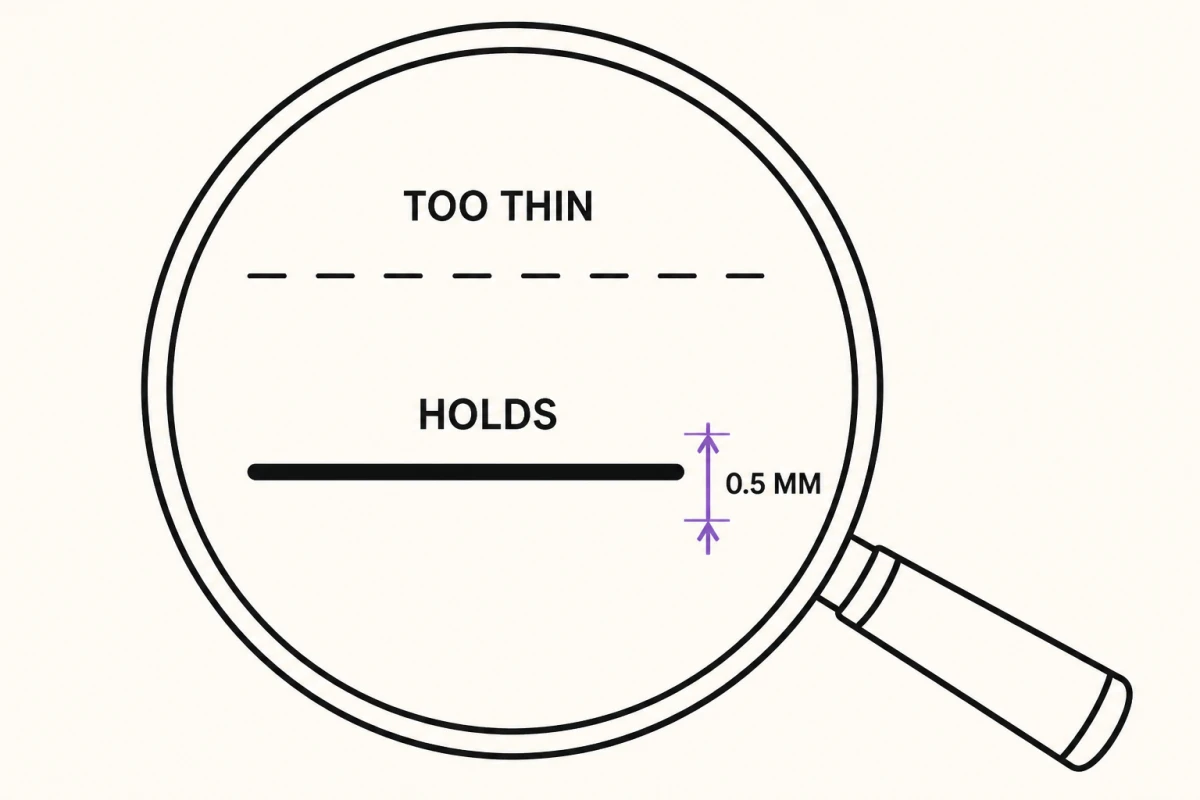
Line weight. Print the same design two or three times at different line weights and apply them next to each other. Thin lines look clean on paper and often transfer as broken dashes; heavier lines hold but can crowd small detail together. InkLine’s print screen has a line-weight setting that redraws the stencil for its print size at fine 0.3 mm, medium 0.4 mm or bold 0.5 mm, so three single-size prints of one design give you a direct comparison. After the stencils set, wipe each the same way and see which one is still complete.
Size. Detail that holds at 12 cm can close up at 8 cm. InkLine’s multi-size sheet prints four copies of a design at 100, 95, 88 and 80 percent on one page. Those copies keep their lines as drawn, since the line-weight setting applies to single-size prints, so use the sheet to compare size and detail density and the single prints to compare weight. Cut the copies apart and apply them in a row.
Make notes. Write the line weight, size, product amount and wait time on masking tape next to each test. After a few sessions you will know your own baseline, which is worth more than any rule of thumb. The download is free, and the manual stencil workflow is free up to an allowance on how many images you carry through it, with a subscription needed past that; worth knowing if you plan to process a lot of test images. For a fuller practice-to-review routine, see your first stencil as an apprentice. And if you do not have a thermal printer yet, hand-transferring a stencil produces sheets that work the same way on practice skin.
What practice skin will not tell you
Be honest with yourself about what a good result on a practice sheet means. It tells you your transfer technique works, your line weight survives a wipe, and the design reads clearly once it is transferred. It does not tell you how the stencil behaves on a person.
Real skin is softer, warmer and oilier, absorbs transfer product differently, and varies from one client and one body area to the next. It stretches when you hold it taut, and it moves with the muscles under it. A stencil that sat perfectly on a flat sheet can pull sideways across a forearm or fold at a joint. Set times on real skin are usually shorter, so do not carry a practice-skin wait over without adjusting it. Ink also behaves differently in synthetic material, so practice sheets are a poor guide to depth and healing.
Tools have limits here too. InkLine prints test sheets, but it does not replace a dedicated thermal stencil printer for shop-volume work, and its on-skin preview is an AI image of a design on a generic body part, not a measurement of how a design sits on a curve. Practice skin teaches technique; a real limb, and supervised work under the rules where you live, teaches the rest.
Frequently asked questions
Why does my stencil wipe off fake skin?
Almost always because it has not set yet, or because residue under the transfer product kept it from bonding. Clean the sheet as its maker directs, dry it fully, use a thinner layer of product, and wait at least 20 minutes before the first wipe.
Do you need stencil fluid on practice skin?
Yes. Carbon stencil lines need a transfer product to grip on practice skin just as on a person; pressed onto a dry sheet they leave only a faint, patchy image that disappears at the first wipe.
Can I use deodorant instead of stencil fluid on fake skin?
Some people do for quick practice, but it is inconsistent, and the habit does not carry over to clients. Use the same transfer product you will use on real skin so the practice actually trains your technique.
How long should a stencil dry on practice skin?
Plan on at least 20 minutes, and longer if the room is cool or humid. If the lines still smear when you lightly touch an edge, give it another ten minutes rather than starting.
Does practice skin take ink and stencils like real skin?
No. It is firmer, does not stretch or move, and absorbs differently, so a stencil that holds perfectly on a sheet can still behave differently on a client. Use practice skin for technique and line weight, and test placement on a real limb.