
Back
Back Tattoo Stencil: Sizing, Spine Centering, and Tiling
Direct answer
A back tattoo stencil almost always has to be printed as multiple tiles: back pieces typically run 20–60 cm (8–24 in) tall, which is two to nine Letter or A4 sheets depending on size and orientation. Center the composition on the spine rather than on the body's outline — find C7 with the client's head dropped forward and work from a plumb line down to the sacrum. Transfer the sections while the client stands in a relaxed working posture, because retracting the shoulder blades moves back skin by several centimeters. InkLine tiles a design across up to 3 × 3 sheets of US Letter, US Legal, Tabloid, A4 or A3, with registration marks on every seam and a grid label on every sheet.
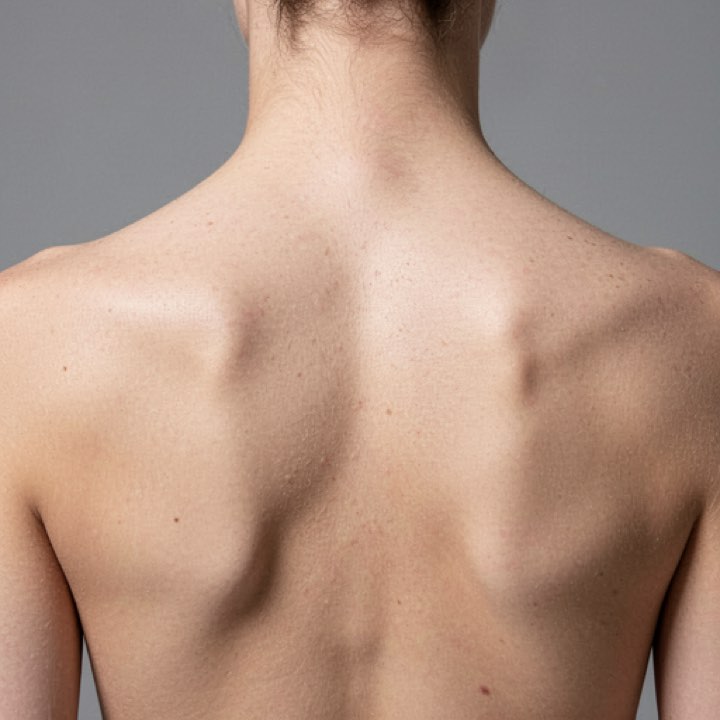
The back is the only placement where the paper runs out before the skin does. Everywhere else you are deciding how large a design should be; here you are deciding how many sheets it takes and where the seams fall. That changes the whole workflow — sizing, transfer order, and session planning all get decided before anything is printed.
Size it to spinal landmarks, then work out the tile grid
Back sizing is unusual because the anatomy gives you hard reference points. Measure between them and the design size stops being a guess.
Three measurements cover almost every back piece. C7 to sacrum is the total vertical field: on most adults that runs 45–60 cm. Scapular spine to scapular spine is the usable upper width, typically 30–40 cm — go wider and the design wraps onto the deltoid, which is a different plane and a separate registration problem. Inferior scapular angle to iliac crest gives you the lower panel, usually 20–28 cm tall. Typical back work lands at 20–60 cm (8–24 in) tall depending on whether it is a shoulder-blade panel, a mid-back piece, or a full back.
Convert that into sheets before you commit. The counts below are for portrait US Letter or A4, with a 5 mm margin at the paper edge and a 15 mm strip shared by neighboring sheets, which is how InkLine lays out a tiled print:
| Piece | Typical size | A4 / Letter tiles | Practical note |
|---|---|---|---|
| Single shoulder blade | 18–25 cm tall | 1–2 | One sheet up to about 20 cm wide |
| Upper back panel | 25–35 cm tall, 30–38 cm wide | 2–4 | Two sheets side by side while it stays under about 26 cm tall |
| Mid-back / lower back | 25–40 cm tall | 2–4 | Seam is easiest to hide near the waist |
| Full back | 50–60 cm tall, 35–45 cm wide | 4–9 | Plan seams before printing |
Longer paper takes rows out of those counts. A 60 cm full back is three rows of Letter and two of US Legal, and on Tabloid or A3, if your printer takes them, a full back fits a 2 × 2 set. Nine sheets, a 3 × 3 grid, is the largest grid InkLine lets you pick, and on Letter or A4 that still holds a design of roughly 60 × 80 cm.
Two decisions come out of that table. First, orientation is worth a whole tile or more: a design 26 cm wide and 38 cm tall takes four Letter or A4 sheets in portrait and two in landscape. Second, seam placement is a compositional choice, not a printer default. Put seams through open skin, foliage, smoke, or drapery — never through a face, a hand, or an axis of symmetry, because 1–2 mm of drift per seam is normal and reads as a mistake in those places. On a nine-tile back you may be carrying 4–6 mm of cumulative error by the far corner. InkLine centers the design on the tiled set, and where there is room you can drag it, within the 5 mm margin, to move where the seams cross it.
InkLine handles the split in its print layout: type the design’s height in centimeters or inches, pick US Letter, US Legal, Tabloid, A4 or A3 in portrait or landscape, and AUTO picks the fewest sheets that hold it. Multi-page stencil tiling covers what the tiler prints on each sheet.
Registration across the sheets is still bench work. Every InkLine sheet carries a label with its place in the grid — “A1 · 1/9” is the top-left sheet of nine, rows by letter and columns by number — beside a small map of the grid with that sheet filled in, so lay the pages out by label and check the count against your own estimate before you commit transfer paper. Neighboring sheets share a 15 mm strip with three circle-and-cross registration marks, printed at the same spot on both sheets, and a dashed cut line with a scissors symbol on the left or upper sheet: cut along it, lay the cut edge over the marks on the next sheet, and tape the assembled master on the reverse only. If you tile from a tool that prints none of this, give each seam a 10–15 mm overlap, align the pair on a feature in the artwork rather than on the paper edges, and draw a pair of crosshairs across each aligned seam by hand so a section that shifts can be put back exactly.
Curvature and movement, and what they do to a stencil
A back looks flat in a photo and is not. It is a compound curve with a groove running down the middle, two mobile plates near the top, and a taper at the sides.
The spinal furrow. A sheet of transfer paper laid across the back bridges the groove either side of the spine instead of sitting in it. If you press only with flat palms, you get two pale strips of missed contact running parallel to the centerline — exactly where a symmetrical design is least forgiving. Press the paper into the furrow with fingertips, working from the centerline outward, before you smooth the broad areas.
The scapulae. The shoulder blades protract and retract. Between arms-at-sides and arms-crossed-forward, the skin over the upper back can travel 2–4 cm and stretch noticeably. Whichever posture you apply the stencil in becomes the posture the design is true in. Apply standing, arms relaxed at the sides, and take the client’s photo reference in the same posture. This is also why an on-skin preview is worth treating as a composition check rather than a fitting: InkLine’s preview is an AI-generated image of the design on a generic back, not your client’s, so it shows how a design reads on a back and nothing about how the sheet behaves over this one. To see the design on the client’s own back, export the stencil as a PNG with a transparent background and layer it over that standing photo in Procreate or a similar app.
The lateral taper. Past the mid-axillary line the surface turns away from you fast. Anything that needs to wrap toward the ribs should be a separate tile applied after the client rotates, not stretched around from a flat-on application. The thigh tattoo stencil page deals with the same wrap problem on a cylinder rather than a curved plane.
Centering on the spine and setting the composition
Center to the skeleton, not to the silhouette. Most people have measurably asymmetric shoulders — one scapula sits lower, one side of the ribcage is fuller — and if you center a symmetrical design to the outline of the torso, the spine will run visibly off-axis through it.
Find C7 by having the client drop their chin: it is the vertebra that stands proudest at the base of the neck. Mark it, mark the top of the natal cleft, and check the line between them with the client standing relaxed. That line is your Y-axis. For symmetrical work, build the symmetry into the prints rather than trying to correct it on skin. InkLine’s Mirror flips the whole image rather than one half, so the dependable route is to clean one half, print it, then flip it on the print screen and print the other: the two halves are the same geometry reflected, and they meet on the spine line. Every step of the edit stays on a timeline you can move back along, so a change that goes wrong does not mean rebuilding the file.
Then check it in a mirror with the client standing before printing the full set. Proof on plain copy paper first. A back proof costs four to nine sheets of copy paper and catches scale errors, wrong page order, and seams landing badly — all of which are cheap now and expensive after transfer paper. Measure the 5 cm check ruler printed on each proof sheet: if it does not read 5 cm, something in the print path rescaled the job.
Applying a multi-tile back stencil
Order matters more here than on any other placement. Transfer the section carrying the structural spine of the composition first — the centerline, the main figure, the element everything else references. That section defines the geometry, and every later tile is registered against it rather than against the body.
Prep the entire field at once: shave and clean the whole back, not just the first tile’s footprint, so you are not introducing fresh moisture next to a drying stencil. Apply thin. A heavy film of transfer solution on a back will run downward under gravity and pool at the waistband, and it takes longer to set than the same film on a forearm.
Let each section dry fully before the next. On a back this is not optional — you will be leaning across finished sections to reach the far side. Apply solution only to the skin the next tile will cover, lay the sheet down starting from the edge nearest the existing linework so you can match the overlapping edge to lines already on the body, and peel toward untouched skin.
Expect touch-ups at the seams. A stencil pen closes a 1 mm break far more reliably than repositioning a whole section. Sweat is the other back-specific risk: over a four-hour session in a prone position, the lower back and the area under the scapulae sweat more than most placements, so protect sections you have not reached yet. The full seam-and-registration procedure is in the oversized stencil printing guide.
Multi-session planning
Back pieces are almost never one sitting. A full back commonly runs four to ten sessions, and the stencil workflow has to survive that gap.
Lock the size at session one and never change it. Export the stencil as a PDF at session one and keep it, not just the printed sheets. InkLine’s gallery keeps a flat image rather than the project, and reopening one starts without its size, mode or print layout, so the PDF is the record of the exact dimensions and tile grid. Reprinting that file at 100 percent, checked against its 5 cm ruler, is the only way tiles from session five will meet linework from session one. Reprint only the sheets covering untattooed skin, and register them against healed lines rather than against measurements taken fresh, because the body will not measure identically months later. Photograph the finished work at the end of each session, straight on and in the standing posture, so you have a reference for the next fitting.
If the client’s weight changes significantly between sessions, say so early. A lower back or flank design is the part that distorts; work above the scapulae is comparatively stable.
Which styles suit a back, and the honest limits
Large-scale flowing work is what the back is for. Japanese back pieces are built around exactly this geometry — a composition that runs with the spine and wraps at the shoulders, with wind bars and background elements that absorb seam placement gracefully; see Japanese tattoo stencils for how that translates into linework. Ornamental and blackwork suit the symmetry of the spine. Realism finally has the room it needs, since a portrait that is mushy at 12 cm can hold real detail at 35 cm.
Geometric and mandala work is the hardest thing to tile. Perfect radial symmetry punishes both seam drift and body asymmetry, and it is the one category where a single A3 or Tabloid sheet, or splitting the design so seams fall on axes of symmetry rather than across them, is worth real planning time.
Two honest limits. A source photo under roughly 1000 px on its long edge cannot be rescued into clean linework at back scale — you are redrawing, not converting, and tiling only spreads the softness across more sheets. And for shop-volume back work, an app plus a home inkjet does not replace a dedicated thermal stencil printer; it is a strong route for planning, sizing, and one-off large pieces, not a production line.
On pain and aging: the spine, the scapular ridges, and the lower ribs sit close to bone and are consistently reported as the harder areas, while the latissimus and the fleshy mid-back are easier. Long prone sessions add their own fatigue. The back ages relatively well because it sees less sun and less flex than hands or forearms, but the shoulders do burn, and clothing friction at the bra line and waistband during healing is worth warning the client about before the first session rather than after it.
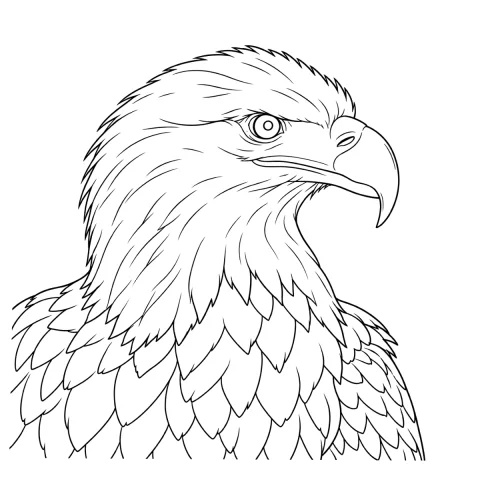
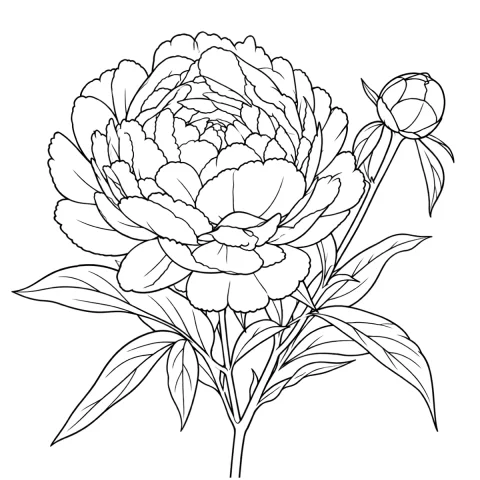
Free stencils that suit this placement




Frequently asked questions
How many sheets does a back tattoo stencil usually take?
On Letter or A4, a single shoulder-blade piece up to about 25 cm tall and 20 cm wide fits one sheet, and an upper-back panel that tall but 30–38 cm wide takes two. A 40 cm mid-back piece typically needs four. A full back from C7 to the sacrum, commonly 50–60 cm tall and 35–45 cm wide, lands at four to nine once the edge margin and a 15 mm overlap on every seam are subtracted. On Tabloid or A3, if your printer takes them, the same full back is four sheets.
Where exactly should I center a back stencil?
On the spine, not on the silhouette of the torso. Ask the client to drop their chin to their chest and feel for the prominent vertebra at the base of the neck — that is C7, and it is the most repeatable landmark on the back. Drop a plumb line from there to the top of the natal cleft and register the design's centerline to that.
Should the client stand or lie down when the stencil goes on?
Apply it standing, in a relaxed posture with arms at their sides. Back skin shifts significantly between postures, and a design registered while the client is prone with arms overhead will sit wrong once they stand up. Check the placement in a mirror with the client standing before you commit to it.
How do I re-register a back stencil for the second session?
Use healed linework as the registration, not the body. Keep the PDF you exported at session one, reprint only the sheets covering untattooed skin — their grid labels (A1, B2 and so on) tell you which — and align each one against lines already on the skin. Never rescale between sessions — a 3% change is invisible on paper and impossible to hide against finished work.
Can I apply a taped-together back stencil in one piece?
No. Tape does not release stencil ink, so every seam prints a blank stripe, and a taped sheet is far too stiff to conform to the compound curve of a back. Assemble the master on the bench to check the composition, then cut the tiles apart and transfer them section by section.