
Thigh
Thigh Tattoo Stencil: Sizing, Wrap, and Transfer That Holds
Direct answer
A thigh tattoo stencil usually runs 15–35 cm (6–14 in) tall, and anything past about 26 cm is taller than a portrait US Letter or A4 sheet holds, so larger thigh pieces go on US Legal, Tabloid or A3 paper or are tiled across two or more sheets and transferred panel by panel. Place the design on the flat front or outer thigh where the skin moves least, and apply it with the leg in the exact posture the client will hold during the session. A stencil that wraps past roughly 10–12 cm of curve will lift at its edges unless it is split into panels.
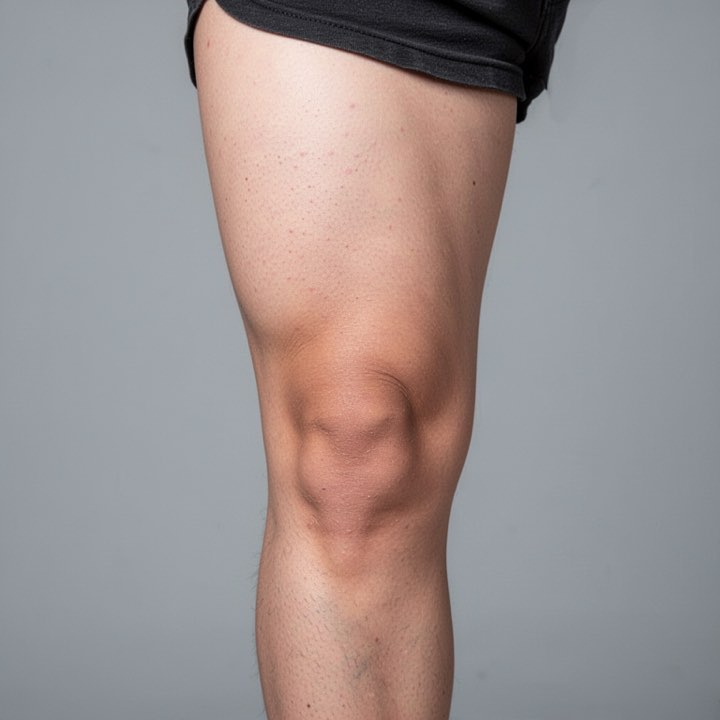
The thigh is the most forgiving canvas on the body and the one that most often breaks a stencil workflow. The skin is not difficult; the paper is. Nearly everything that goes wrong with a thigh stencil traces back to one of three things — the design being larger than a sheet, the leg being in the wrong position when the paper lands, or a flat print being asked to sit on a curve it was never cut for.
Size the piece and count your sheets before you print
Measure the canvas before you scale the art. On an average adult, the outer thigh gives roughly 40–50 cm of usable length from the hip crease to a hand’s width above the knee, and the flat front panel — the face of the quad — is only about 18–22 cm wide when standing. That asymmetry is why thigh compositions are almost always vertical: you have length to spend and width to ration.
Typical finished thigh work runs 15–35 cm (6–14 in) tall. Now compare that against paper. Printers do not print to the edge, and InkLine keeps a 5 mm margin clear on every side, so the largest design one portrait sheet holds is close to these:
| Sheet | Nominal size | Largest single-sheet design | Tallest, in inches |
|---|---|---|---|
| US Letter portrait | 215.9 × 279.4 mm | ~20 × 26 cm | ~10 in |
| US Legal portrait | 215.9 × 355.6 mm | ~20 × 33 cm | ~13 in |
| Tabloid portrait | 279.4 × 431.8 mm | ~26 × 41 cm | ~16 in |
| A4 portrait | 210 × 297 mm | ~20 × 27 cm | ~10.5 in |
| A3 portrait | 297 × 420 mm | ~28 × 40 cm | ~15.5 in |
So on Letter or A4 a 20 cm design is a one-sheet job, about 26 cm is the limit, and anything from about 28 cm up is a tiling job — or a single US Legal sheet up to about 33 cm, if your printer feeds it. Tabloid and A3 cover the whole thigh range on one sheet, but they need a printer that takes wide paper. This is the single most common surprise on thigh work: the artist scales the design to the leg, sends it to a home printer, and gets a version cropped or shrunk without being asked. InkLine handles the tiling case directly: you type the height in centimeters or inches, AUTO picks the fewest sheets up to 3 × 3, neighboring sheets share a 15 mm strip with three registration marks and a dashed cut line, and every sheet is labelled with its place in the grid. If you pick US Legal and the printer only has Letter loaded, the job is re-tiled for Letter at the same size rather than shrunk. The mechanics of assembling those sheets cleanly are covered in the guide on printing a stencil larger than one page. If you would rather work backwards from the body measurement, the stencil size calculator converts a target height into sheet count.
Enlarging changes line weight as well as size. Printed As drawn, a stencil’s lines grow with it, so lines that print at 0.4 mm on a 12 cm proof print at about 1.2 mm when the same stencil goes out at 36 cm; with lines As drawn, InkLine’s print screen warns when they will come out heavier than 0.8 mm. The line-weight presets — Fine 0.3 mm, Medium 0.4 mm, Bold 0.5 mm — redraw the stencil for its print size so the typical line stays at that width however large the piece.
Size generously. A thigh visually eats scale — a design that looks substantial on a phone screen reads small on a 50 cm canvas. When a client is between two sizes on a thigh piece, the larger one is usually right, and it costs nothing to print both and hold them against the leg before cutting either.
Front, outer, and back thigh are three different surfaces
Treating “thigh” as one placement is where template advice falls apart. The three usable faces behave differently enough that the same artwork needs different handling on each.
Front thigh is the flattest surface on the whole leg and the easiest place to keep a stencil accurate. Symmetry survives here — mandalas, geometric panels, and anything with a strong central axis belong on the front, because the eye will read any distortion as bad drawing rather than bad placement. The trade-off is that the front compresses hard when the knee bends, so it is the surface most sensitive to session posture.
Outer thigh is the classic large-piece location: a long, gently convex panel that is visible when standing, holds a vertical composition well, and moves relatively little. Most full-leg-panel work lives here. The convexity is real but mild over the middle third, which is why a single flat sheet usually works if you keep the design roughly within a hand’s width of the centerline.
Back thigh flattens when the client stands and bunches when they sit. It is also the one surface the client cannot check in a mirror, which makes agreement on placement harder and photo documentation more important. Expect to apply it with the client standing and expect to reapply after the first long stretch of sitting.
Inner thigh is the outlier and deserves an honest warning: thin, mobile skin, higher pain, and constant contact with the other leg. Stencils smear there faster than anywhere else on the leg. If a design crosses onto the inner thigh, transfer that section last and keep the client’s legs apart while it sets.
What curvature and movement actually do to the stencil
A thigh is a cylinder with a circumference of roughly 50–60 cm on most adults. Lay a flat sheet on a cylinder that size and it makes real contact along a chord of about 10–12 cm before the edges start to lift. Past that, you are not applying a stencil, you are pressing paper against air and hoping.
The fix is panels, not force. Split the design along a natural break — a gap between elements, the edge of a leaf, the boundary between two sections of ornament — and transfer the flattest panel first. Then align each remaining panel against lines that are already on the skin, not against the paper edge. Registration marks on paper lie once the paper bends; ink on skin does not.
Movement is the second variable, and on the thigh it is bigger than most artists expect. Quad skin shortens noticeably when the knee bends, and hamstring skin does the opposite. A stencil applied to a standing leg can move a centimeter or more when the client settles into the chair, which turns a straight border line into a curved one. Apply in the working posture, then have the client stand and check again — you want a stencil that is correct in the position the needle will meet it, and acceptable in the position the client will see it.
Three practical details that matter more here than on an arm: thigh hair is denser, so a shave and a proper degrease is not optional; the area is close to the core and sweats through a long session, so plan for touch-ups on a four-hour panel; and gravity works against you, so let the transfer dry a full 15–20 minutes before the first line rather than the ten or so you would give it on an arm.
InkLine’s on-skin preview, an AI-generated image of the design on a generic thigh, is useful for showing a client roughly how a design reads there before you commit, but it is not their leg and not a measurement of how artwork behaves on a curved surface. It will not tell you where a wrap needs a relief cut. Only paper on skin does that.
Applying a thigh stencil so it survives the session
Shave, degrease, and dry the whole area — larger than the design, because your hands and the paper will both touch skin outside the outline. Apply stencil solution thinly and evenly; a heavy coat on a large area is the main cause of thick, blurred lines on big thigh work, and it takes longer to tack up.
For tiled prints, assemble the sheets on the bench first and check the seams against a straight edge — on an InkLine set, cut the left or upper sheet along its dashed line and lay the cut edge over the registration marks on the next — then separate them again for transfer. Tape does not release stencil ink, so a taped seam prints a blank stripe, and a taped master is too stiff to follow a thigh. Transfer the panel carrying the main linework first, let it dry, and lay each next panel against lines already on the skin. For each sheet, anchor the top edge — at or just below the hip crease for the first — hold it under light tension along the length of the leg, and roll it down rather than laying it flat; that is what keeps a long stencil from picking up a wave in the middle.
Press through the backing with a flat palm for 30–60 seconds, working from the center outward. Peel along the length of the leg, not across it. If a section lifts short, stop, leave the rest in place, and re-transfer only that panel.
Styles that suit the thigh, and which modes reach them
The thigh’s length rewards flowing, vertical compositions: Japanese panels, ornamental and blackwork designs, and large-scale realism all fit the canvas naturally. Geometric and mandala work suits the flat front but reads crooked on the outer curve, so decide the face before you finalize the symmetry.
Watercolor designs are worth calling out here, because their soft edges tolerate wrap and slight distortion far better than hard linework does — but the stencil for one is usually a skeleton of key boundaries rather than a full drawing, which is a different transfer job from a fully lined panel.
For extraction, Linework carries line-led work at this scale, with Outline as the barer contour pass; Tonal maps a realism piece’s shading into two to four shadow levels, drawn as dotted lines and hatching rather than grey; Dotwork gives you stippled tone. The Cleanup slider works in Linework, Sketch, Denoised and Outline only, so on a Tonal or Dotwork thigh piece you control stray marks with Detail, Intensity and the eraser instead. One hard limit worth respecting: below roughly 1000 px on the long edge, a source photo cannot be rescued into a clean stencil at thigh scale — you are redrawing, not converting. The same principle covered on the calf placement page applies double here, because the enlargement factor is larger.
Pain, aging, and the honest trade-offs
The outer and front thigh sit among the more tolerable areas on the body: substantial muscle, distance from bone, and few dense nerve clusters. The inner thigh and the strip just above the knee are markedly worse, and worth flagging to a client who has only been tattooed on the forearm before. A full thigh panel commonly runs four to six hours, so pain tolerance over time matters more than the peak.
The thigh is usually covered, which is why it is the most common first-big-piece placement and why it fades less than a forearm over a decade. The genuine long-term risk is different: large thigh pieces distort more than small pieces do under significant weight change or muscle gain, and fine detail spreads faster on skin that stretches. If a client is mid-way through a substantial body composition change, that is worth saying out loud before the stencil goes on, not after.
Finally, scale honesty: a home printer plus transfer paper handles a thigh piece well for one or two sessions, but it does not replace a dedicated thermal stencil printer for shop-volume work. If you are applying several large stencils a day, the tiling workflow will feel like the bottleneck it is.
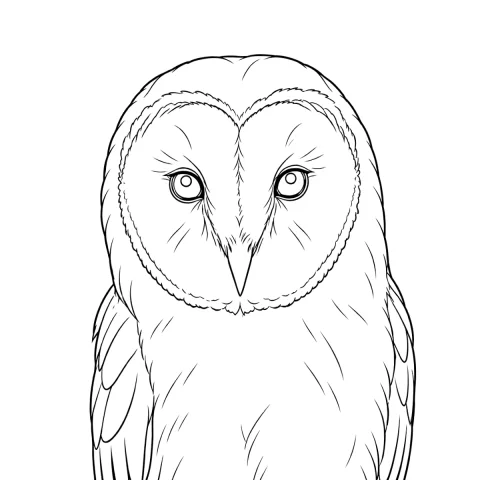
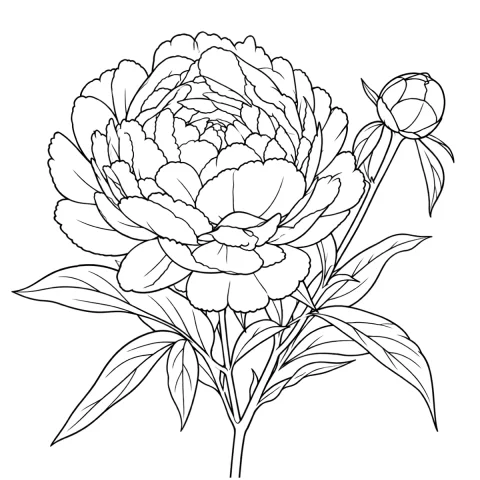
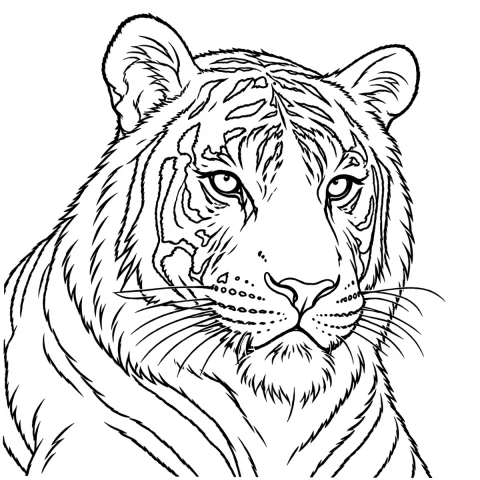
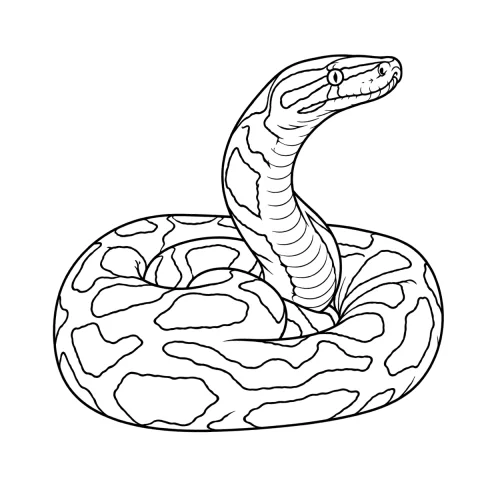
Free stencils that suit this placement


Frequently asked questions
How big should a thigh tattoo stencil be?
Most thigh pieces land between 15 and 35 cm (6–14 in) tall. The outer thigh gives you roughly 40–50 cm of usable length between the hip crease and the top of the knee on an adult, and the flat front panel is only about 18–22 cm wide, so height is almost always the dimension that decides the design.
Will a thigh tattoo stencil fit on one sheet of paper?
Often not on Letter or A4. Inside InkLine's 5 mm edge margin, a portrait sheet holds a design about 26 cm tall on US Letter and 27 cm on A4, so anything taller goes on US Legal (about 33 cm), Tabloid or A3 (about 40 cm), or is tiled across two or more sheets. Check a tiled set together on the bench, then transfer it panel by panel rather than as one taped piece.
Should a thigh stencil be applied standing or sitting?
Apply it in the posture the client will hold for most of the session. Quad skin shortens and bunches when the knee bends, so a stencil applied to a standing leg can shift by a centimeter or more once the client sits down in the chair.
Does a stencil that wraps around the thigh need to be cut?
Yes, if it crosses more than about 10–12 cm of curve. Split it along a natural break in the design, transfer the flattest panel first, then align each remaining panel against a line that is already on the skin rather than against the paper.
Do I need a subscription to print a thigh stencil from InkLine?
Past a point, yes. InkLine is a free download, and the manual stencil workflow — processing, editing, print layout, and export — is free up to an allowance on how many images you carry through it; past that allowance it needs a subscription. AI generation is metered separately on a credit system, because it runs on a server rather than on the device.