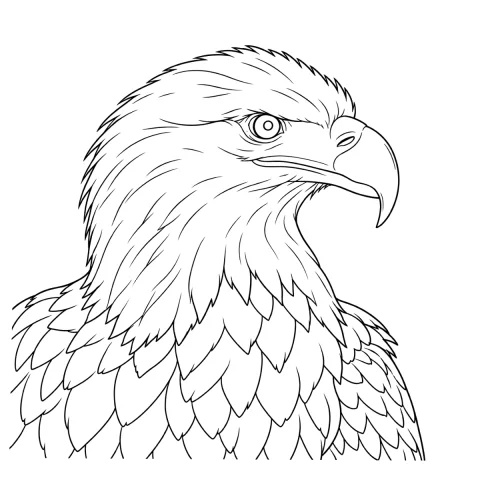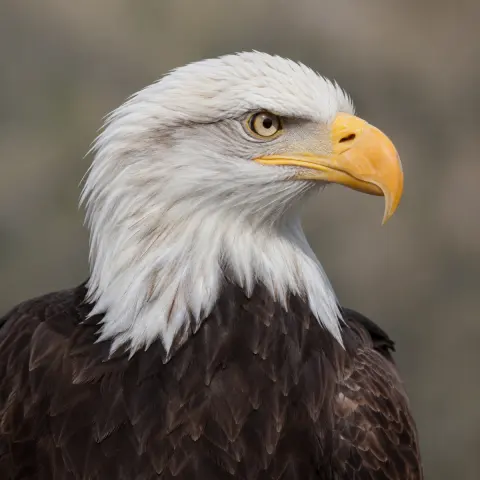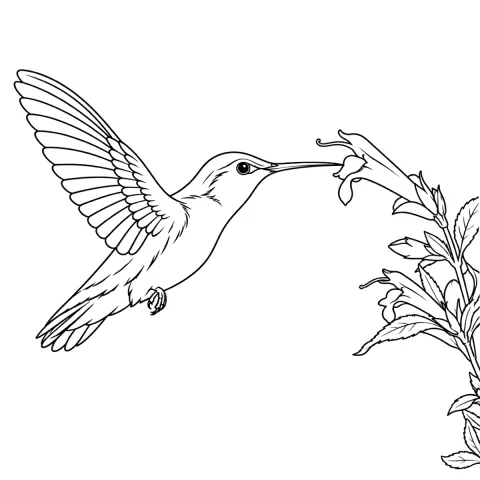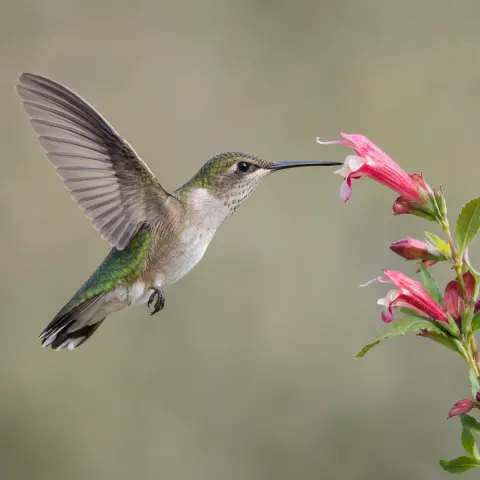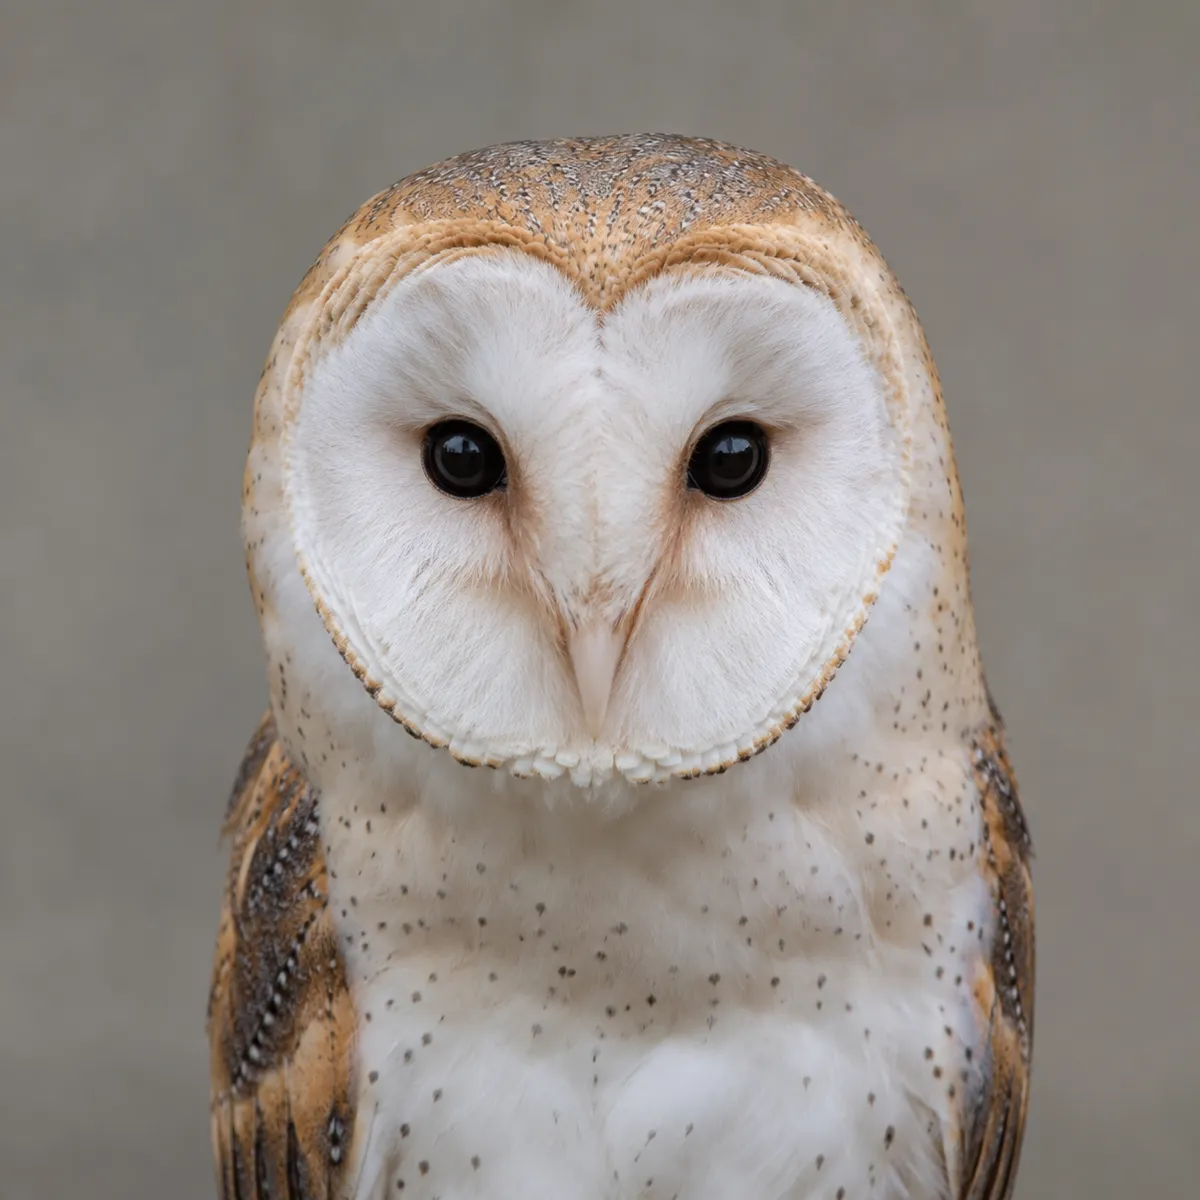
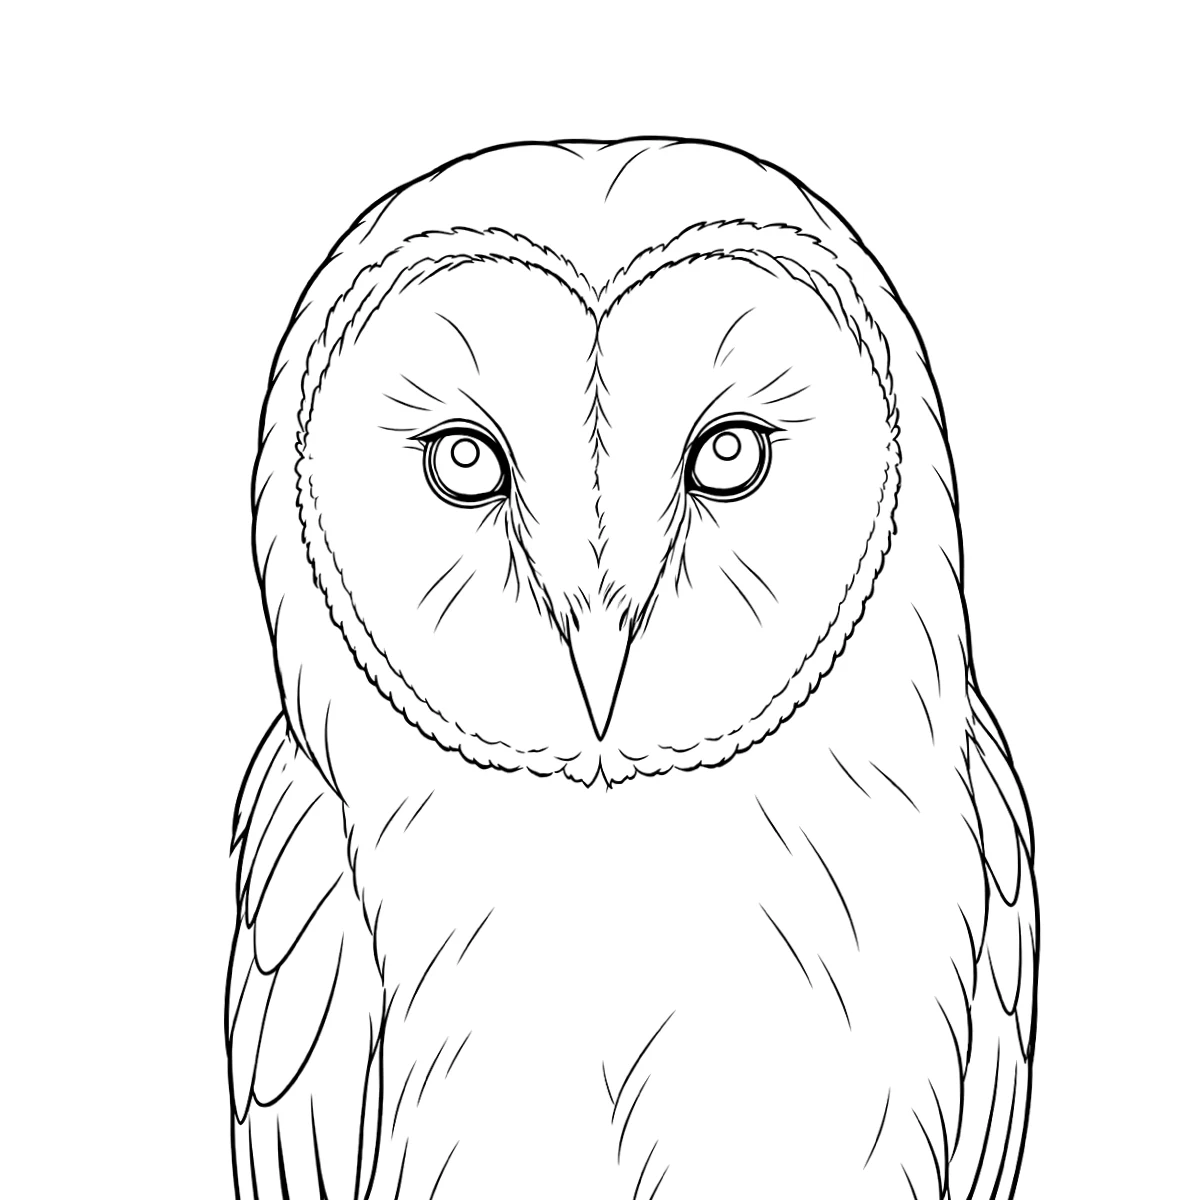

The reference photo and this stencil are AI-generated examples made for this library — not a client photo, and not InkLine output.
Free printable stencil · Birds
Owl tattoo stencil
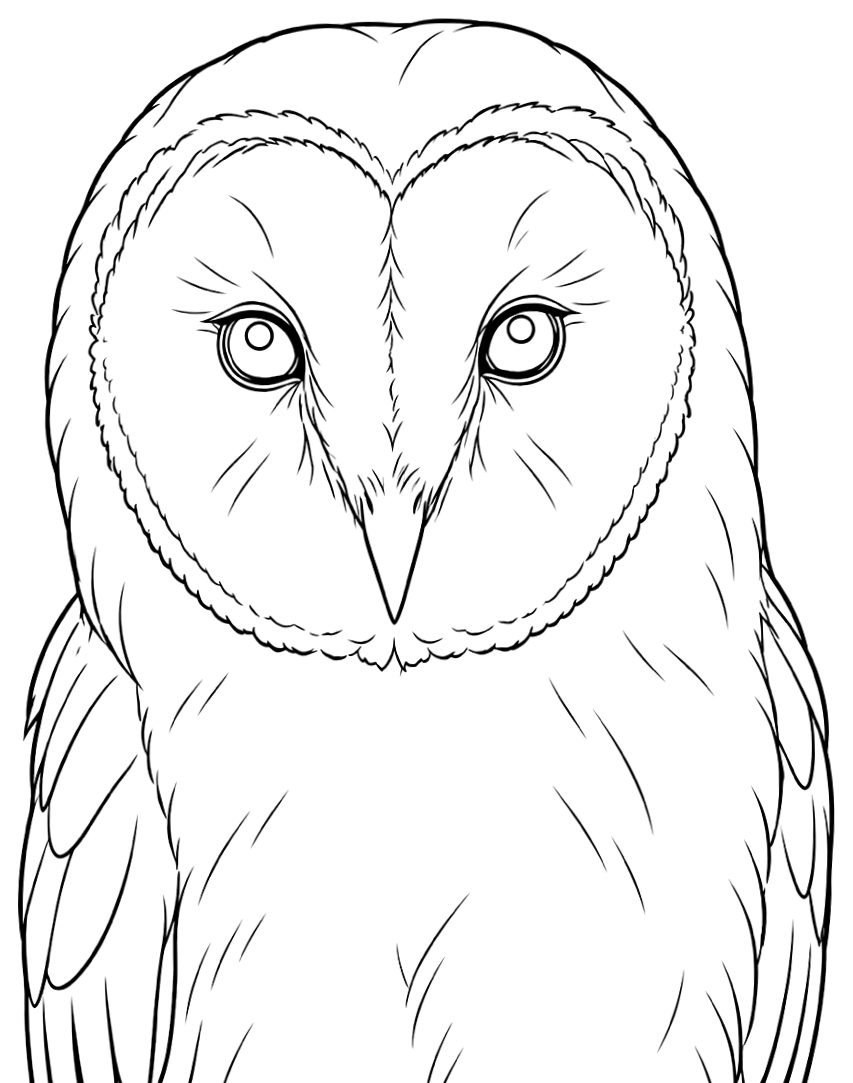
This owl tattoo stencil is a barn owl seen straight on: the heart-shaped facial disc with its ruffled rim, two round eyes, a narrow beak and the folded wings at either side. It is close to symmetrical, which makes it an easy fit for the center of the chest, the front of the thigh or the upper arm, and it suits neo-traditional, dotwork and realism work.
Print it at true size
Type the width you want on skin and print. In the print dialog choose 100 % or “Actual size” — “Fit to page” rescales it.
Bigger than one sheet? Split it across pages with the free stencil tiler
Free to print and tattoo, for yourself or your clients. Can I use these stencils?
What to trace, what to simplify
Everything hangs on the heart-shaped rim of the facial disc and the two eyes inside it. Transfer the rim exactly — its scalloped edge is what makes the bird read as a barn owl — and check that both eyes sit at the same height, since a tilt of a millimeter or two shows at once on a face-on design. The ridge line between the eyes and the beak comes next. The short strokes on the face and breast are texture guides; drop them first below about 8 cm (3 in), then the layered wing feathers.
Size and placement
At 10–15 cm (4–6 in) tall the facial disc, eyes and wing edges stay distinct, which suits the outer upper arm, the front of the thigh or the center of the chest. Because the design is symmetrical, mark the center line on the skin before you place the stencil and line the beak up with it. Under 7 cm (3 in), keep the disc, eyes, beak and body outline and leave the feathers out.
From print to skin
Print
Thermal stencil paper through a stencil printer, or plain paper you trace onto hectograph paper by hand.
Prep the skin
Clean, shave and dry the area, then apply a thin, even coat of stencil transfer solution.
Transfer
Press the stencil flat, hold it for a few seconds, and peel it off in one move. Let it dry before you start.
Frequently asked questions
The owl in the photo has black eyes — why does the stencil show rings?
The stencil marks the edge of each eye, the pupil and a small highlight, so you know where to pack black and where to leave skin open. Keep that highlight clear on both eyes and in the same spot, or the owl looks cross-eyed once it has healed.
Is this owl a good base for a dotwork tattoo?
It suits it well. The outlines give you the shapes and leave the tone to you: stipple the facial disc lightly, build denser dots toward the rim and along the wings, and keep the breast mostly open, the way the pale feathers read in the reference photo.