
Upper arm
Upper Arm Tattoo Stencil: Sizing, Curve, and Application
Direct answer
An upper arm tattoo stencil should be sized for the flat outer face of the arm rather than the whole circumference: budget about one third of the arm's measurement, which is roughly 9–13 cm (3.5–5 in) of usable width, and let height carry the design at 12–20 cm (5–8 in). Apply it centerline first, tack the middle down, then smooth outward toward the front and back so the paper never has to stretch. For a half sleeve that runs past one sheet, InkLine tiles the stencil across up to 3 × 3 pages, each labelled with its place in the grid.
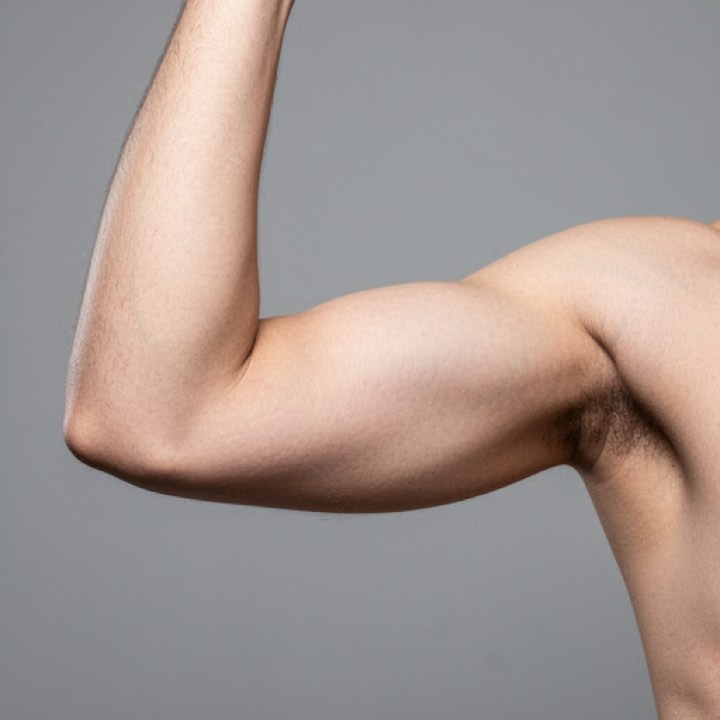
The upper arm is the placement most people start with, and it is the one where a stencil is most likely to lie to you. The arm is a cylinder that swells into a ball at the shoulder, so a design that measured correctly on a flat screen can land short at the back edge and sit visibly off-axis the moment the client drops their arm. Here, sizing and application are one problem, not two.
Size for the flat face, then apply from the centerline
Measure the circumference at the widest point of the bicep. Most adult upper arms land between 28 and 40 cm (11–16 in). The usable flat field for a single stencil sheet is roughly one third of that number: about 9–13 cm (3.5–5 in) of width before the paper has to bend around the front or back edge of the arm. That is the real constraint, and it is why height is the free dimension on this placement. A 12–20 cm (5–8 in) tall design at 10 cm wide fits an upper arm comfortably; the same area laid out as a 20 cm wide, 10 cm tall block does not.
Application follows from that. Find the centerline first: the line that runs from the middle of the shoulder cap straight down the outer bicep. Have the client stand relaxed with the arm hanging, not flexed and not raised, because that is the position the tattoo will be seen in for the rest of its life. Then:
- Prep and shave the whole area, not just the design footprint, and degrease it. Any residual moisturizer will let the stencil slide during the hold.
- Apply a thin, even layer of stencil solution. Too much and the lines bleed outward at the edges where you press hardest.
- Align the stencil’s vertical center to the arm’s centerline and tack only the middle down with two fingers.
- Smooth outward from that center toward the front of the arm, then toward the back, with flat thumbs. Never pull the paper to make it reach.
- Hold for the full contact time without letting the arm move, then peel along the length of the arm rather than across it. Peeling across the curve is what tears the transfer at the edges.
- Let it dry 10–15 minutes and check it from three angles: straight on, at 45 degrees, and from the side.
That last check matters more here than anywhere else on the body. A stencil that looks centered from directly in front is often 1–2 cm forward of the true centerline, because you have been standing in front of the client the whole time.
What curvature actually does to the design
A cylinder is a developable surface, which means flat paper wraps around it in one direction without wrinkling. That is why the outer bicep is forgiving. The deltoid is not a cylinder. The shoulder cap curves in two directions at once, and no flat sheet can lie on it without either creasing or lifting. If a design has to cover the cap, either split the transfer into vertical panels and lay them one at a time, or cut short relief slits into the waste margin so the paper can overlap itself instead of buckling.
The second effect is optical rather than mechanical. A circle drawn on a curved surface is only a circle from one viewing angle. From anywhere else it foreshortens. A mandala or a compass rose that fills the full 13 cm of usable width will read as an oval from most angles, and there is no way to correct that in the stencil, because the correction depends on where the viewer is standing. The workable answer is to keep radially symmetric elements small enough to sit near the centerline, and let the design’s overall composition run vertically where the surface is nearly flat.
| Zone | Typical height | What it does to the stencil |
|---|---|---|
| Outer bicep | 12–20 cm (5–8 in) | Gentlest curve; single-axis wrap, lies flat with light smoothing |
| Shoulder cap | 10–16 cm (4–6 in) across the cap | Double curvature; flat paper creases, needs panels or relief cuts |
| Tricep | 12–18 cm (5–7 in) | Reads only from behind; skin shifts most when the elbow bends |
| Inner bicep | 8–14 cm (3–5.5 in) | Thin, mobile skin; the stencil lifts if the arm is held straight |
Half sleeves and shoulder cap conventions
A half sleeve conventionally runs from the shoulder cap to just above the elbow ditch, about 25–35 cm (10–14 in) of length depending on the arm. That is more than a portrait Letter or A4 sheet holds, which is about 26–27 cm of design, and even where US Legal, Tabloid or A3 takes the length, the wrap around the arm means a half sleeve goes on as panels. InkLine’s print layout tiles a design larger than one sheet across up to 3 × 3 pages, each labelled with its place in the grid and joined by a 15 mm overlap carrying registration marks, which is the practical route when you are working from a phone and an AirPrint printer rather than a thermal unit. Print the panels, then transfer them one at a time, aligning each new sheet to the linework already on the skin rather than to the cut edge of the paper. It is not a replacement for a dedicated thermal stencil printer if you are running shop volume.
Two conventions are worth knowing before you commit to a size. First, most half sleeves stop at a clean visual line rather than fading out, usually the deltoid insertion at the bottom of the shoulder cap or a wrap band above the elbow, because an ambiguous edge looks unfinished under a t-shirt sleeve. Second, a cap piece that stops exactly at the sleeve line will look shorter than it measures once the client is dressed; adding 2–3 cm below the intended stopping point is common. Neither of these is a rule, but a client who asked for a half sleeve and got a piece that vanishes under a shirt will remember it.
If you are stepping down from a full arm design, the forearm placement has the opposite problem: the surface is flatter but the taper toward the wrist means the design narrows as it descends.
Which styles hold up on a curved, sun-exposed surface
Bold, closed linework survives both the curve and the decades. American traditional was developed on arms, and its heavy outlines and limited internal detail are exactly what a curved, frequently sun-exposed surface needs; the traditional stencil breakdown covers how to keep those weights readable at transfer. Japanese and blackwork behave similarly, and both are used to designing around a wrap rather than fighting it.
Fine-line and dense micro-realism are harder here. Not impossible, but the outer arm gets more UV than almost any other covered placement, and hairline strokes at 0.2 mm have less margin as they spread. If a client wants delicate work on an arm, the inner bicep holds it better because it sees far less sun.
For mode selection, Linework handles traditional and blackwork cleanly, keeping solid black areas as fills, and Outline gives the barer contour if you would rather fill freehand. On larger cap pieces with shading, Tonal maps it as shadow levels marked with dotted lines and hatching rather than grey, and Dotwork renders it as stipple. The mode-by-design guide walks through the trade-offs. Whatever you choose, a source photo below roughly 1000 px on the long edge cannot be rescued into clean linework; at that point you are redrawing rather than converting, and it is faster to admit that early.
Honest notes on pain, movement, and aging
The outer bicep and tricep are among the more tolerable placements: thick skin, muscle underneath, and no bone directly under the needle. The inner bicep is a different experience, with thinner skin and more nerve density, and most people rate it several steps higher. Say so before the session rather than during it.
Movement is the long-term factor a stencil cannot show you. The bicep changes shape with training and with weight, and the tricep skin loosens with age, so a design that depends on precise symmetry across the front and back of the arm will drift out of alignment over years in a way that a chest or back piece will not. Compositions that read well from a single primary angle age more gracefully than ones that demand the viewer walk around the arm.
One limitation worth stating plainly: InkLine’s on-skin preview is an AI-generated image of the design on a generic upper arm — not your client’s arm, and not a measurement of how a design sits on a curved surface. It will show you general placement, and it will not tell you that the back edge of your mandala is going to foreshorten. The tape measure and the three-angle check after transfer are still the tools that settle it. InkLine is a free download, and the manual stencil workflow — processing, editing, print layout, and export — is free up to an allowance on the number of images you carry through it, and needs a subscription beyond that; AI generation uses a credit system.
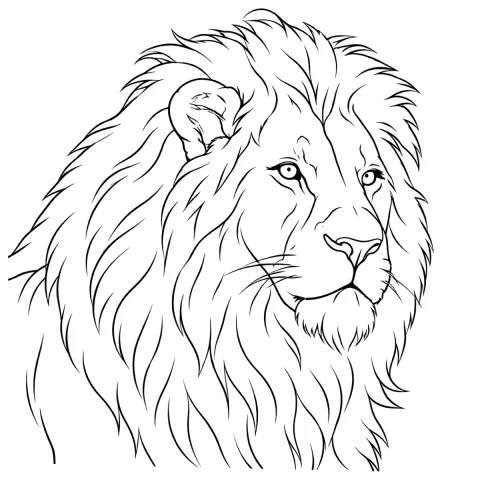
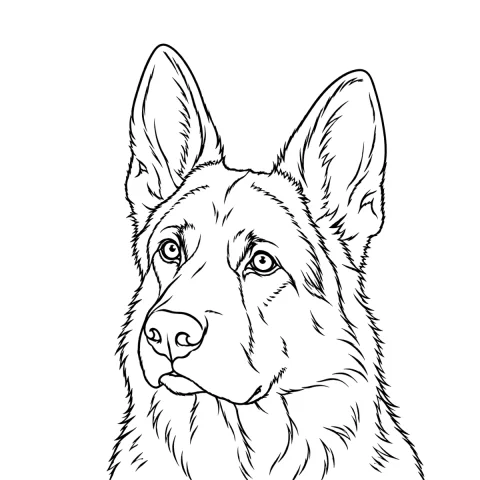
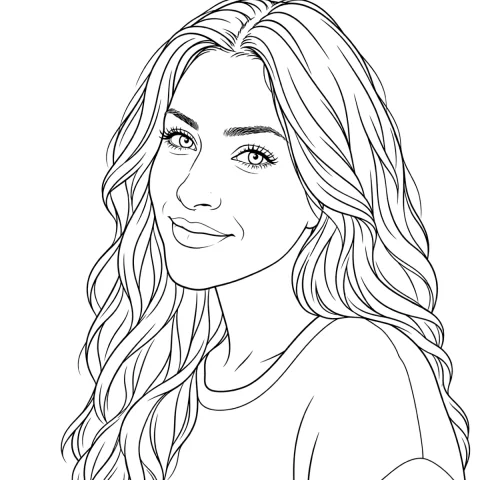
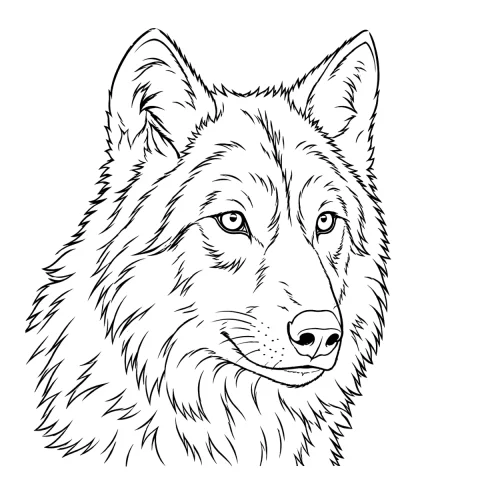
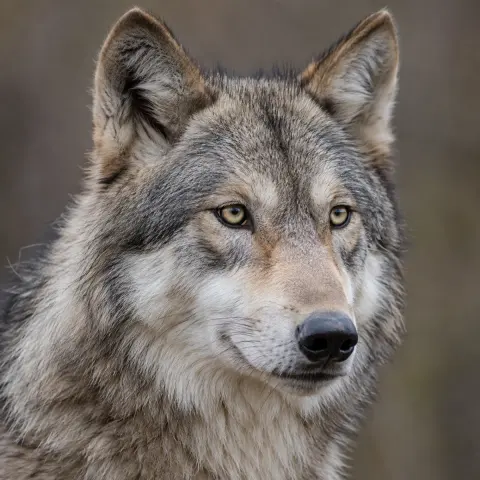
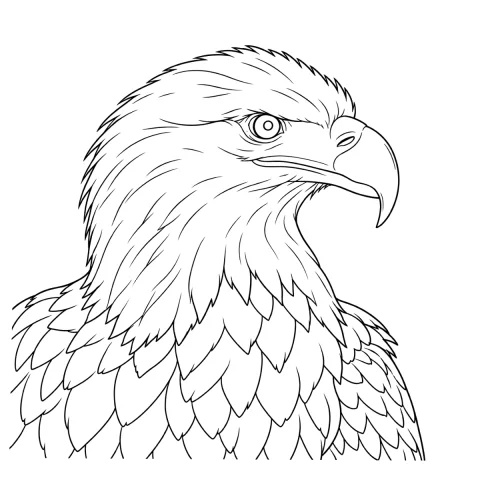
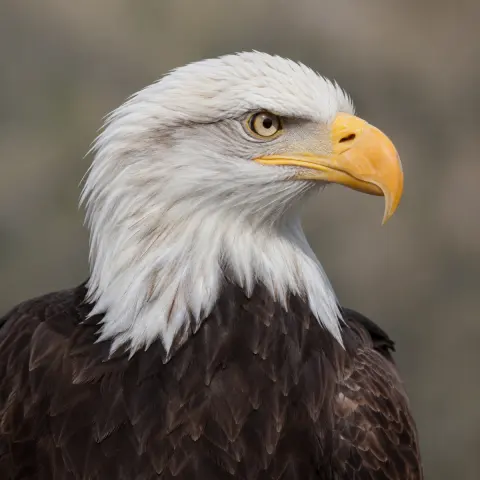
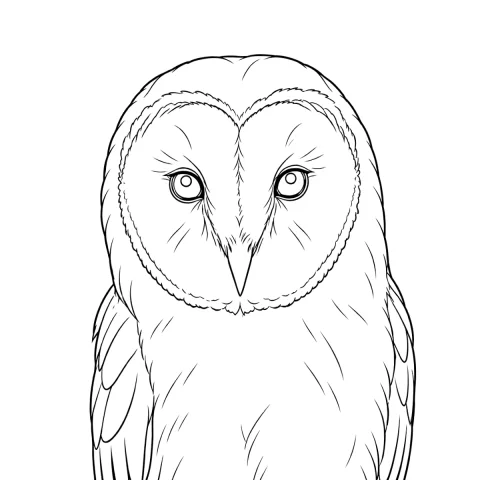
Free stencils that suit this placement
Frequently asked questions
How wide can an upper arm tattoo stencil be before it distorts?
About one third of the arm's circumference, which is 9–13 cm (3.5–5 in) on most adult arms. Past that the paper has to cross the front or back edge of the arm, where it either creases or lifts, and the design reads as a compressed ellipse from straight on.
Should the arm be relaxed or flexed when I apply the stencil?
Relaxed and hanging naturally, with the shoulder in the position it holds all day. Applying to a flexed bicep sets the linework to a shape the arm is only in for a few seconds at a time, and the design will sag when the muscle relaxes.
Can one printed sheet cover a half sleeve?
Not usefully. A half sleeve runs from the shoulder cap to the elbow, typically 25–35 cm (10–14 in) of length, which is more than a portrait Letter or A4 sheet holds; a US Legal, Tabloid or A3 sheet takes most of that length, but a half sleeve also wraps far past the 9–13 cm flat face of the arm. Either way it goes on in panels, aligned on the arm one at a time.
Does the stencil need to be mirrored for the left versus the right arm?
Only if a figure faces a specific way or the composition should flow toward the shoulder on both arms. Never mirror lettering: InkLine's mirror flips the whole image, text included, so if the design carries text, set it the right way round again in your drawing app after the flip. Check the orientation before you print rather than after transfer.
Why does my stencil lift at the back of the arm?
Usually because the sheet was pressed down at both edges before the center, which traps tension in the middle, or because the tricep skin moved during the hold. Tack the centerline first, smooth outward, and keep the arm still for the full contact time.