
Forearm
Forearm Tattoo Stencil: Sizing, Wrap, and Getting It Straight
Direct answer
A forearm tattoo stencil typically runs 10–18 cm (4–7 in) tall, sits best on the inner surface where the skin is flattest, and should be applied with the arm rotated and supported the way it will sit during the session. Register the sheet's center line against a landmark you can see, set the middle down first, then smooth outward toward wrist and elbow so the wrap takes up the slack at the edges. Print at 100 percent and check it with a ruler: a design spanning more than about two-thirds of the visible face turns away from the viewer at the edges, and flat paper cannot describe that. InkLine prints at the height you type in centimeters or inches, with a 5 cm check ruler on every sheet.
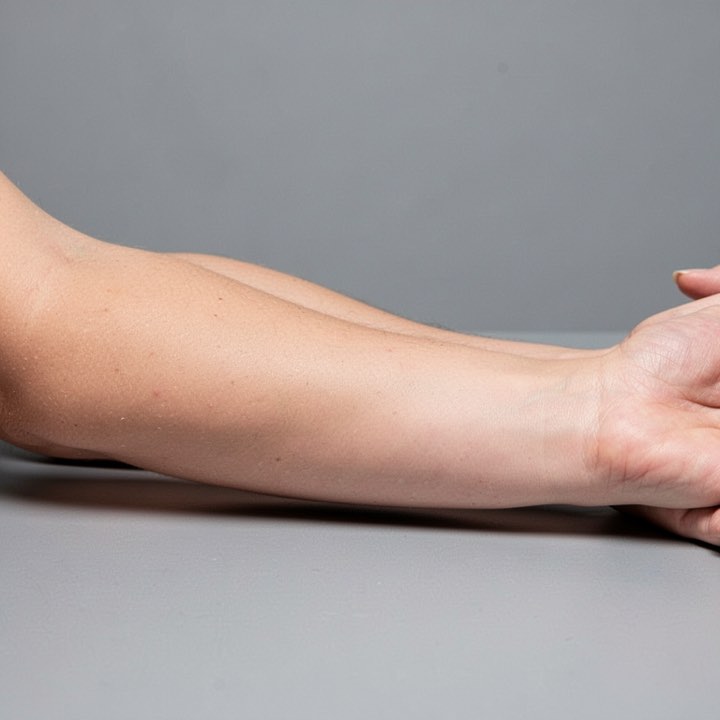
The forearm is the most common first canvas in tattooing, and it is where most apprentices learn to transfer. Both have the same cause: the inner surface is the flattest large panel on the body you can see while you work on it, and a client can hold it still for two hours without strain. It is not actually flat, though, and the ways a forearm stencil fails are specific enough to name.
Set the rotation first, then transfer from the center out
The single thing that ruins more forearm stencils than any slider setting is arm position. The forearm rotates. Going from palm-up to palm-down twists the soft tissue around the radius and ulna, and a line that ran dead straight up the middle in supination skews visibly in pronation. Decide which rotation the design is drawn for, put the arm in it, and keep it there through prep, transfer, and your first check.
Support the arm at the height and angle it will hold during the session, elbow resting, fingers loose. A clenched fist stands the flexor mass up and shortens the inner surface by a few millimeters; apply over a tensed forearm and then work on a relaxed one and the stencil reads slightly compressed for the rest of the session. Shave the whole field even when the hair looks negligible — the outer forearm carries more than it appears to, and stencil solution grabs hair, which then lifts the paper off the skin in patches.
The lay-down itself has a forearm-specific order:
- Trim the sheet to within about a centimeter of the design. Excess paper tents on a curved surface and drags the transfer sideways when you press it down.
- Register the long axis before anything touches. Line the sheet’s center mark against something you can see from where you are standing: the midline of the wrist crease, the center of the elbow ditch, or a pen dot you and the client already agreed on.
- Set the middle down first. Contact the center of the sheet to the center of the field, then smooth outward toward the wrist and toward the elbow with the flat of your fingers. Any slack that has to go somewhere ends up at the edges, where the arm is curving away and where the design is least dense.
- Do not slide once contact is made. A forearm has enough give that a half-centimeter correction feels possible; it is not, and it smears the line you were correcting.
- Peel along the long axis, wrist toward elbow, not sideways off the curve. Peeling across the arm lifts the transfer at the edges first, exactly where it is thinnest.
If the design is being adapted to the arm rather than transferred literally — flow lines that have to follow this particular client’s musculature — work that out on a photo of the arm before you print, not with a sheet you will scrub off and reprint. InkLine cannot place a design on a photo of the client’s own arm, so export the stencil as a PNG with a transparent background and layer it over the arm photo in Procreate or a similar app. Make the line changes back in InkLine’s Edit screen, where the original reference photo can sit under the stencil at an adjustable opacity while you redraw.
Sizing: what a forearm actually offers
Adult wrist-crease-to-elbow-crease distance commonly runs 24 to 28 cm, but the usable panel is shorter, because you leave clearance at both ends. Width is the constraint people underestimate: the inner forearm only reads as a flat face for about 7 to 10 cm across at the midpoint before the surface turns away, and that narrows to 5 or 6 cm near the wrist. The outer forearm gives you 9 to 12 cm, at the cost of more convexity.
| Piece | Typical height | Practical width | Notes |
|---|---|---|---|
| Small symbol or script, wrist end | 4–7 cm | up to 5 cm | Narrowest zone; keep it short |
| Standard single-subject, inner forearm | 10–18 cm | 7–9 cm | The default; fits one Letter or A4 sheet at true size |
| Outer forearm panel | 12–18 cm | 9–11 cm | More area, more curvature at the edges |
| Full inner forearm | 20–25 cm | 8–10 cm | Leave 2–3 cm clear at both creases |
| Wrap or sleeve section | 18–25 cm | 22–30 cm around | Tiled and applied in sections, never one flat sheet |
Print at 100 percent, with any fit-to-page scaling switched off, and measure the printed sheet before it goes anywhere near skin; InkLine puts a 5 cm check ruler on every sheet for exactly that, and the height you type is the height of the lines on paper, with blank margins trimmed first. Wrong print size is one of the two complaints that dominate this whole category, and it takes ten seconds to rule out. The mechanics of that, including the driver settings that silently rescale, are in printing a tattoo stencil at home. Anything past a single sheet — a wrap section, or a panel much over 26 cm tall on Letter — needs tiling across multiple pages with the seams planned rather than accepted.
Inner and outer forearm are two different placements
They share a bone and nothing else that matters to a stencil.
| Inner forearm | Outer forearm | |
|---|---|---|
| Curvature | Gentle, close to single-axis at the midpoint | Convex across, with the ulnar ridge running its length |
| Skin | Thinner, paler, softer, little sun history | Thicker, more sun-exposed, more texture |
| Hair | Light | Heavier; shave wider than you think you need |
| Who sees it | The wearer, mostly | Everyone else, arms down |
| Reported sensitivity | Higher, sharply so near the wrist and elbow ditch | Lower, except directly over the ulnar bone edge |
| Long-term | Holds black contrast well | Fades faster from UV than almost any placement except hands |
For stencil work specifically, the inner forearm is the easiest transfer on the body and the outer forearm is a genuine curve. On the outer surface a design wider than about 9 cm starts to disappear around the sides from any single viewing angle, which means the client sees a narrower composition than the one you printed. That is a design decision made at the sizing stage, not something the transfer can recover.
What the curve does to a flat sheet
A forearm is closer to a truncated cone than a cylinder. Circumference at the elbow end is commonly 26 to 30 cm and at the wrist 15 to 18 cm. A rectangle of paper laid on a tapering curved surface has to buckle somewhere, and where it buckles is your choice or the paper’s.
Three consequences worth designing around:
Straight lines survive along the arm, not across it. The long axis is the direction of least curvature. A border, a spine, a stem, a column of lettering all hold their shape running wrist-to-elbow. The same straight line drawn across the arm bows visibly, and a rectangular frame around a forearm design almost always reads as a barrel.
Horizontal spacing compresses at the edges. Two elements 8 cm apart across the arm are not 8 cm apart to the eye once the surface starts turning. Evenly spaced repeats — ornamental bands, dot rows, mandala segments — need the outer repeats opened up slightly or they crowd.
Lettering across the inner wrist is the classic failure. Text set perpendicular to the arm curves as it lays down and the last two or three characters fall off the visible face. Run it along the axis, or accept that it will only be legible from one angle.
For wrapping work, split the design at a seam you chose and print in sections rather than fighting one wide sheet. Put the seam on the ulnar edge or the underside, where a one-millimeter alignment error is not being looked at. Add registration ticks at the wrist crease, the elbow, and a midline point, and apply from the most visible section outward so accumulated error lands where it costs least. Compositions that continue past the elbow are governed by different rules again, since the biceps and triceps change shape with contraction in a way the forearm does not — see upper arm stencils for that.
The on-skin preview in InkLine is useful for showing a client the idea before you print, but it is an AI-generated image of the design on a generic forearm, not their arm, and a visualization rather than a measurement of how a design sits on a curved surface. Nothing on a screen substitutes for the printed sheet on the actual arm.
Which styles sit well here
The forearm is a tall, narrow field, so styles that already compose vertically need the least adaptation. Japanese sleeve segments, ornamental panels, and script along the axis fit the shape instead of arguing with it.
Blackwork panels do well on the forearm for a stencil reason as much as an aesthetic one: they are drawn as boundaries with empty interiors, so there is very little transfer ink to smear over a long session on a surface the client keeps rotating to look at. Fine-line and single-needle work suits the inner forearm’s smooth pale skin, but sits close to the thin-skin end of the arm — keep the busiest detail toward the mid-forearm rather than the last 4 cm before the wrist. Realism reads best when the subject’s own long axis lines up with the arm’s; a portrait rotated across an outer forearm is fighting the convexity from the first pass.
Pain, healing, and how forearm work ages
Sensitivity is individual and nobody should present a chart as fact, but the pattern reported consistently is that the inner wrist end and the elbow ditch are sharper than the fleshy middle, and that lines directly over the ulnar ridge are felt more than lines over the flexor mass. That is worth knowing at stencil stage, because it affects where you place the longest uninterrupted passes.
Healing is where the forearm loses some of its advantage. It is a high-contact placement — sleeves, desk edges, car doors, bags — and rubbing during the first couple of weeks is a real risk rather than a theoretical one. The outer forearm also takes more UV over a lifetime than nearly any other common placement, and fading there is faster without sun care. Inner forearm work generally holds its contrast longer, though the thin, mobile skin near the wrist is less forgiving of depth errors than the mid-forearm is.
Getting the file right before it prints
For most forearm work, the mode choice follows the design and not the placement: Linework, the default, for panel and lettering work; Outline when you want only the barest contours; Tonal when shading has to be mapped as shadow levels — dotted lines and hatching rather than grey; Dotwork for stippled tone; Sketch when a photographed pencil drawing’s grey shading is the point; and Denoised when the photo is grainy. Processing in InkLine runs on the device, so trying modes costs seconds. Step back to the photo on the timeline before each one, though: a mode applied on top of another runs on that result, not on the photo, and two modes do not combine into one stencil.
Two honest limits apply here as everywhere on this site. Below roughly 1000 px on the long edge, a client’s photo cannot be rescued into a clean stencil — you are redrawing, not converting — and no slider changes that. And a phone plus a home printer does not replace a dedicated thermal stencil printer at shop volume; it replaces the trip to one.
InkLine is a free download, and the manual stencil workflow of processing, editing, print layout, and export is free up to an allowance on how many images you carry through it, then needs a subscription; AI generation uses a credit system and needs a network connection, while the processing described on this page is local. Output goes to US Letter, US Legal, Tabloid, A4 or A3, portrait or landscape, over AirPrint or as a PDF, with tiling up to 3 × 3 sheets for anything larger than one.
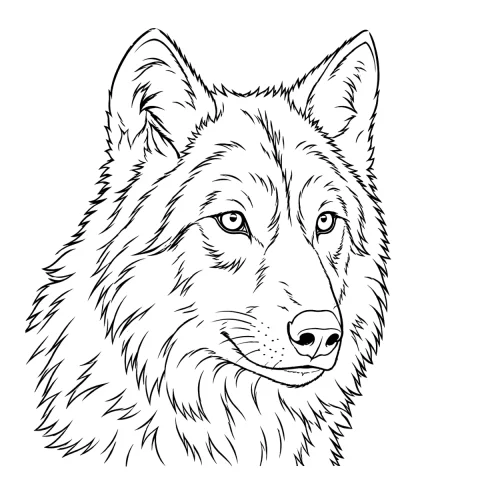
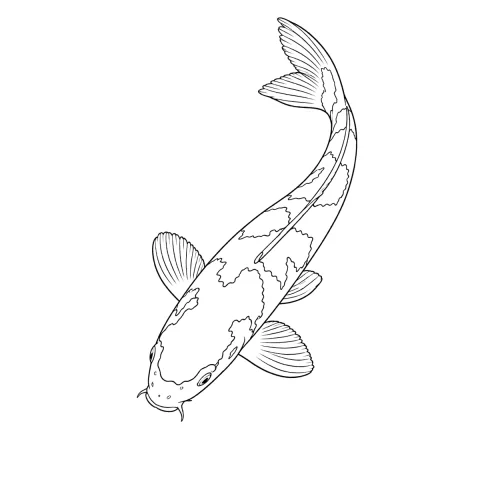
Free stencils that suit this placement


Frequently asked questions
What size tattoo fits on a forearm?
Most single-subject forearm pieces land between 10 and 18 cm (4 and 7 in) tall and 7 to 10 cm wide. A full inner forearm panel can run 20 to 25 cm if you leave 2 to 3 cm clear at both the wrist and elbow creases. Past about 20 cm wide you are designing for a wrap, not for a flat sheet.
Should the stencil go on the inner or outer forearm?
The inner forearm is flatter, paler, and easier to transfer onto, and the wearer sees it. The outer forearm gives you more width and is what other people see, but it is more convex, carries more hair, and takes far more sun over the years. Curvature and visibility usually decide it, not the stencil.
Why does my forearm stencil look crooked after it dries?
Almost always because the arm moved rotation between transfer and inspection. Rotating from palm-up to palm-down twists the soft tissue over the radius and ulna, so a line that ran straight in one position skews in the other. Set the rotation before you apply, and check the stencil in that same rotation.
Can a forearm stencil wrap all the way around the arm?
Not from one flat sheet. The forearm tapers from roughly 26 to 30 cm around at the elbow end to 15 to 18 cm at the wrist, so a rectangle of paper cannot lie on it without buckling. Split the design into sections, print and apply them one at a time, and put the seams on the ulnar edge or the underside.
How much clearance should I leave at the wrist crease?
Leave 2 to 3 cm above the wrist crease unless the design is deliberately a wrist piece. The skin there is thin and mobile, it creases with every hand movement, and a stencil laid across it distorts the moment the client flexes. It is also the sharpest part of the forearm for most people.