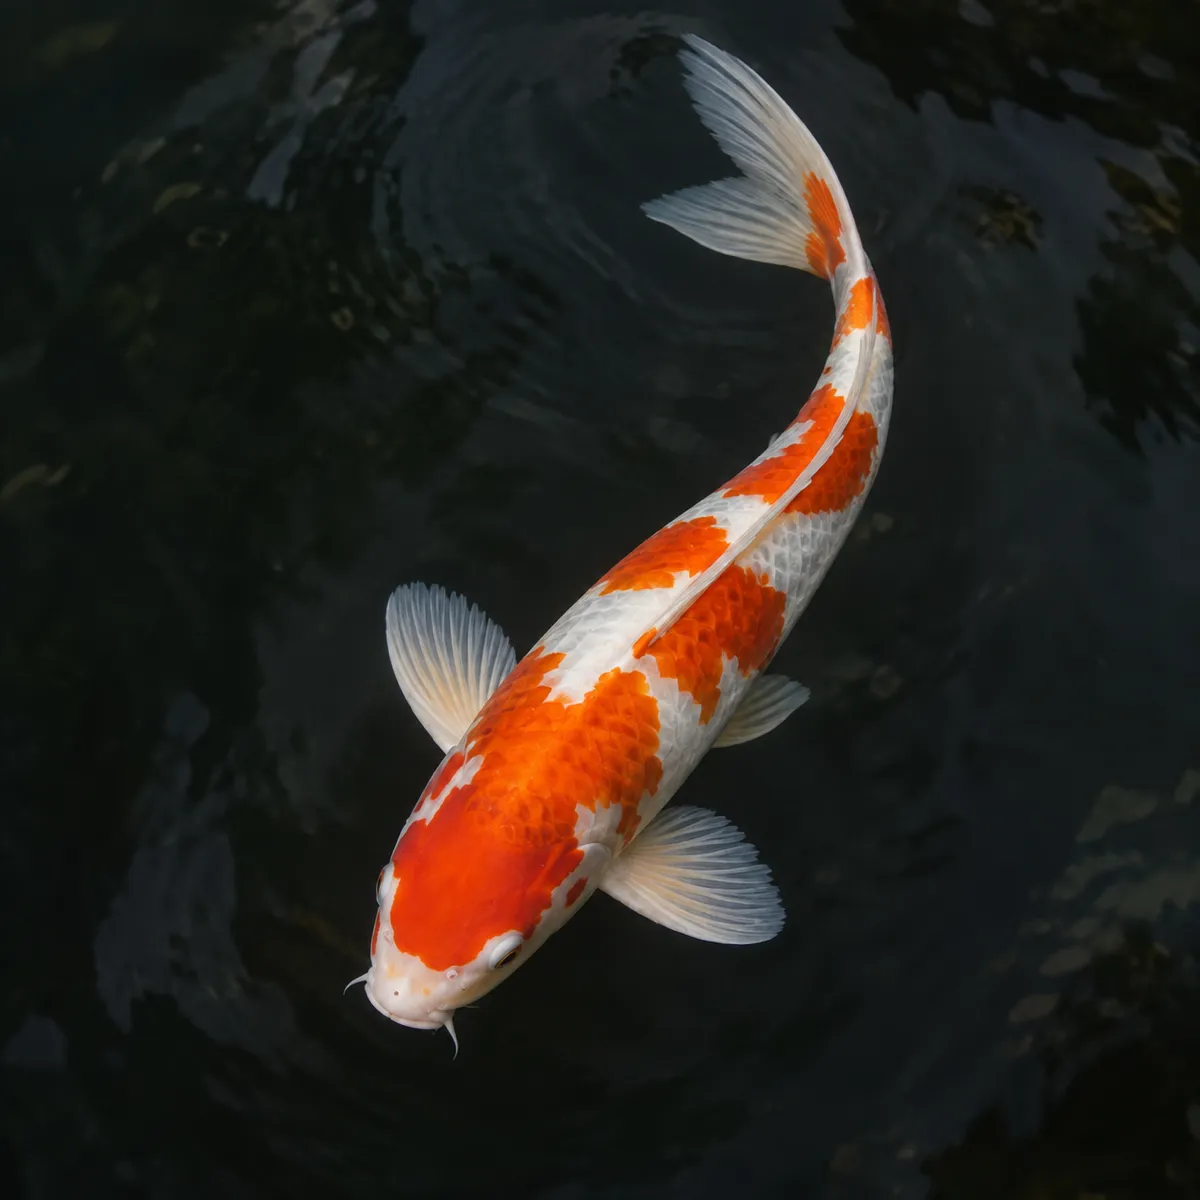
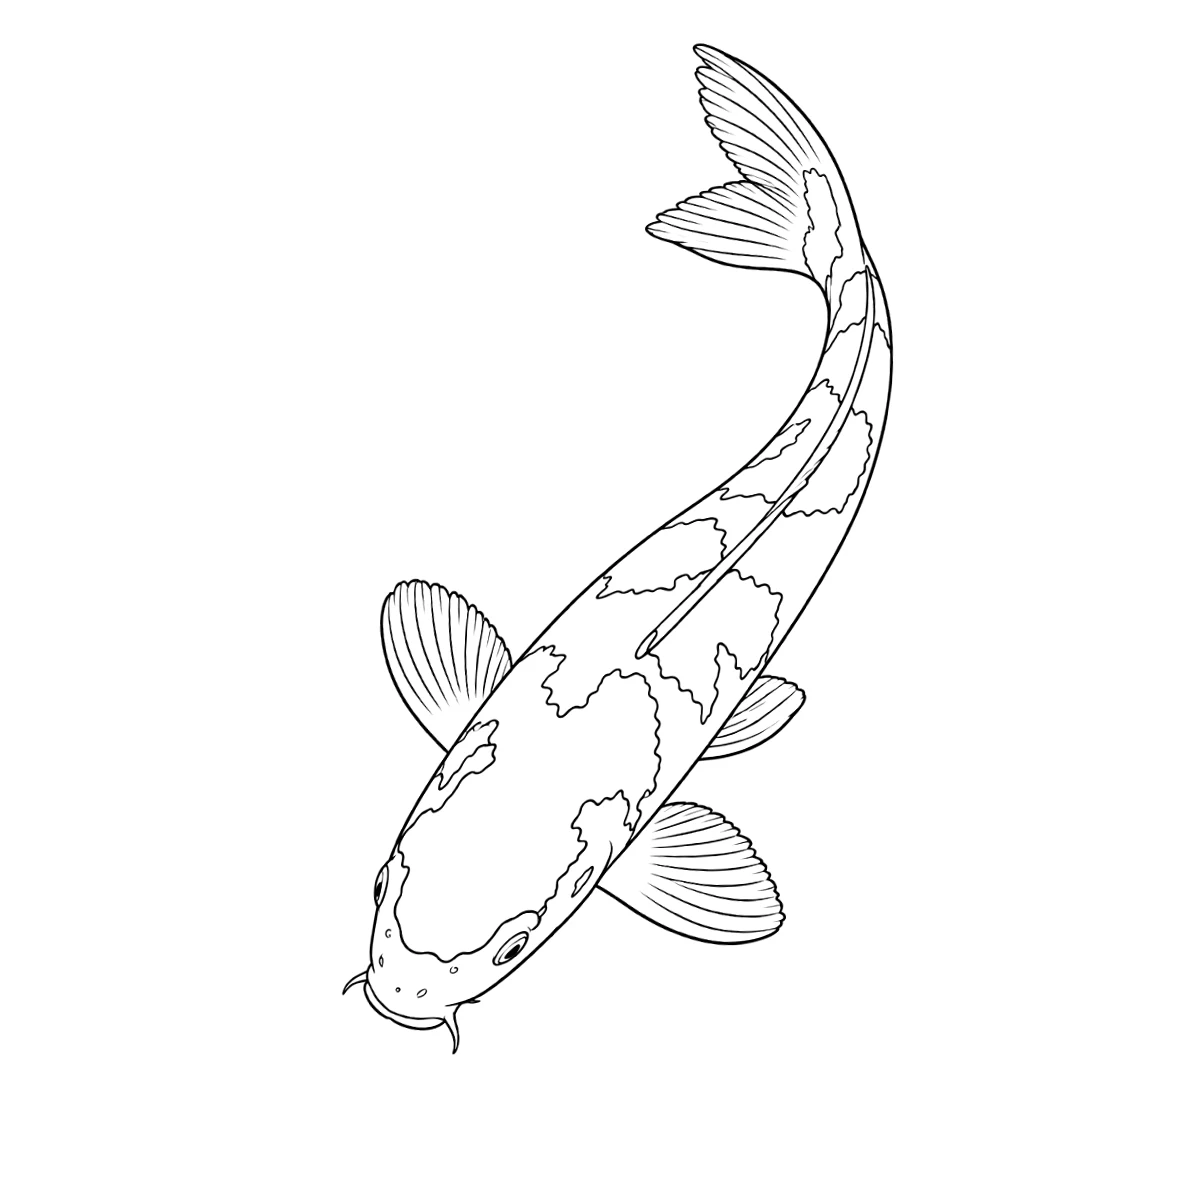
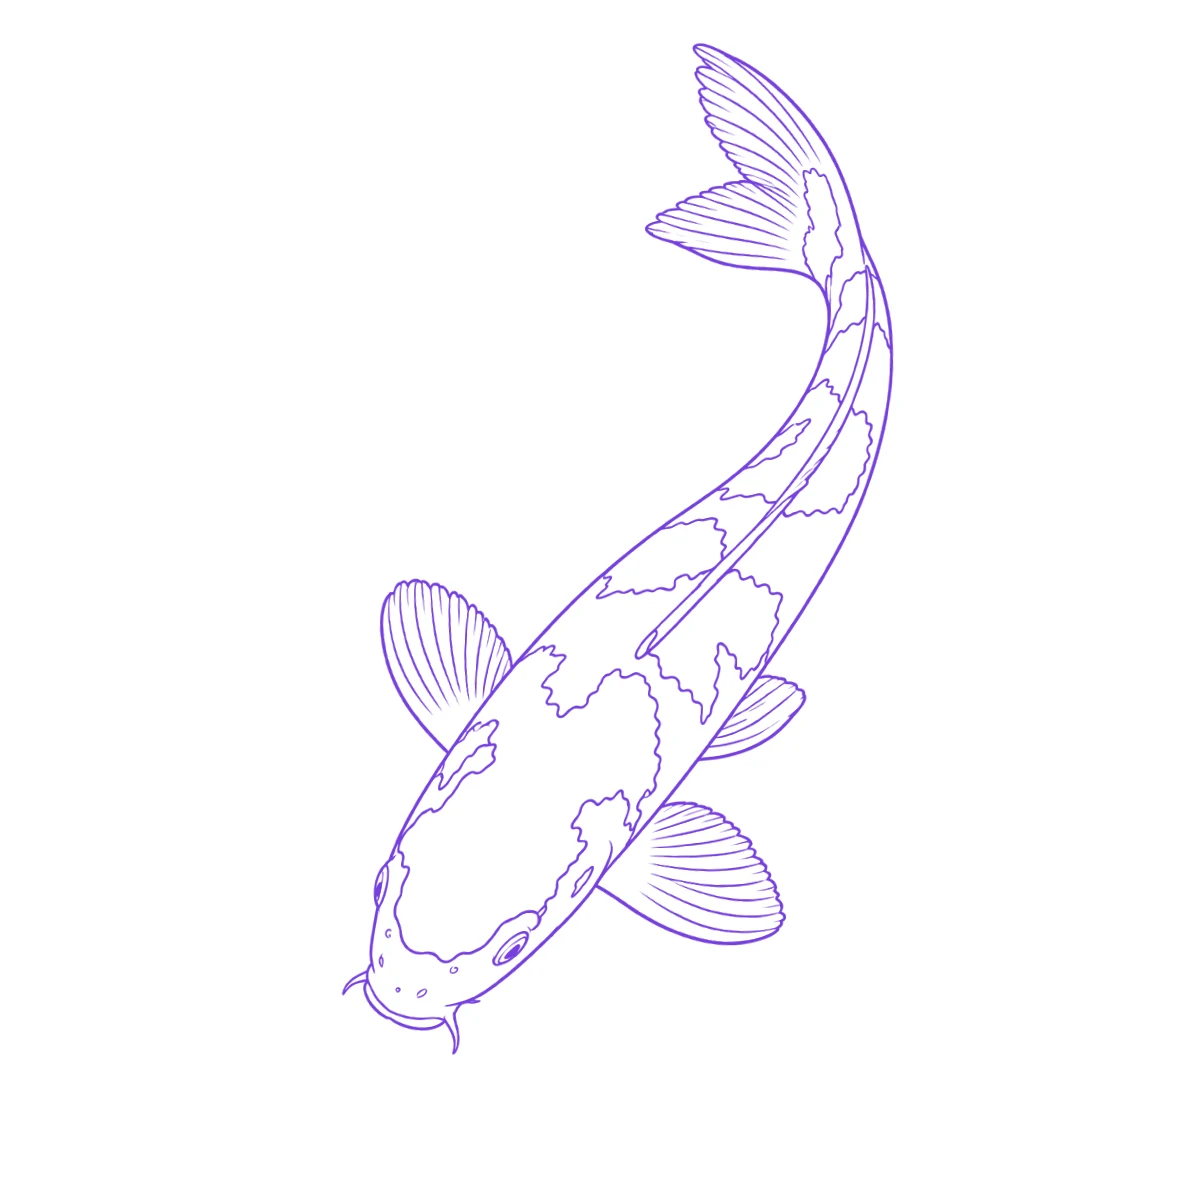
The reference photo and this stencil are AI-generated examples made for this library — not a client photo, and not InkLine output.
Free printable stencil · Sea life
Koi fish tattoo stencil
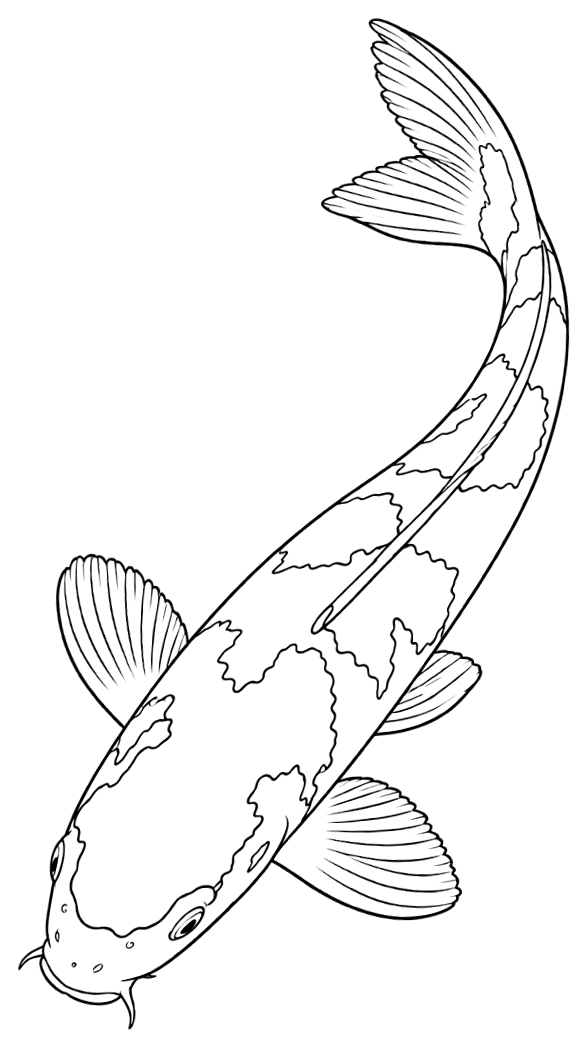
This koi fish tattoo stencil is a koi seen from directly above, head at the bottom and body curving up into a forked tail, with its fins spread and the edges of its pattern patches outlined. No scales are drawn, which leaves it open for color or black and grey, and the long curved body suits a forearm, calf or the ribs.
Print it at true size
Type the width you want on skin and print. In the print dialog choose 100 % or “Actual size” — “Fit to page” rescales it.
Bigger than one sheet? Split it across pages with the free stencil tiler
Free to print and tattoo, for yourself or your clients. Can I use these stencils?
What to trace, what to simplify
The body contour from snout to tail fork carries the design, together with the line running along the spine — transfer both in smooth, unbroken passes, since a kink reads as a broken fish. The fins, the tail and the two barbels come next. The wavy patch outlines mark where the color or shading changes; keep where they sit, but not every ripple. The fin rays are the first fine detail to thin out: below about 12 cm (5 in) long, draw three or four rays per fin instead of all of them.
Size and placement
The koi is long and narrow, so measure it by length: 15–22 cm (6–9 in) from snout to tail tip sits well along the forearm, down the calf or up the side of the ribs, and the print can be rotated to follow the line of the limb. About 10 cm (4 in) is the floor with every fin in place; below that, keep the body, the tail and the two front fins.
From print to skin
Print
Thermal stencil paper through a stencil printer, or plain paper you trace onto hectograph paper by hand.
Prep the skin
Clean, shave and dry the area, then apply a thin, even coat of stencil transfer solution.
Transfer
Press the stencil flat, hold it for a few seconds, and peel it off in one move. Let it dry before you start.
Frequently asked questions
Should the koi swim up or down the body?
That is a design choice rather than a rule, though some clients care about it because of what each direction is often said to mean, so ask before you print. The fish is drawn from above, so it can be rotated or mirrored freely without any side looking wrong.
What are the wavy shapes on the koi’s body?
They are the outlines of the pattern patches — the orange markings in the reference photo. On the stencil they tell you where one color ends and the next begins; in black and grey they become the boundary between a darker and a lighter area.