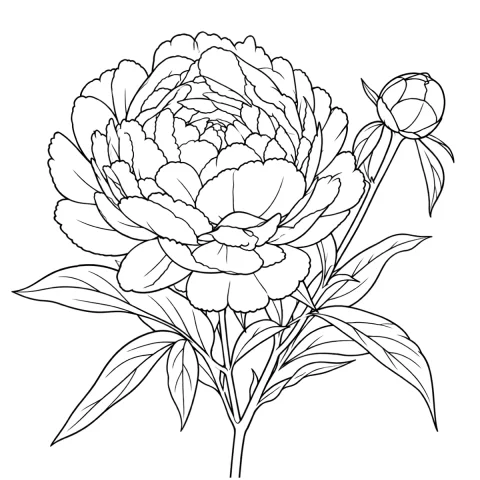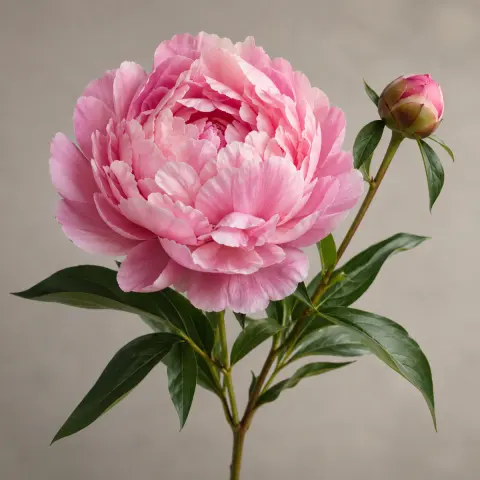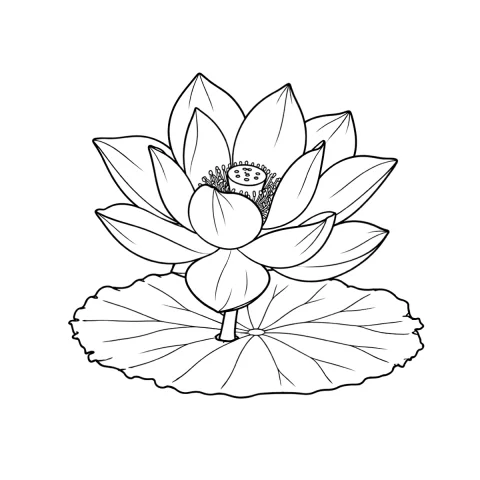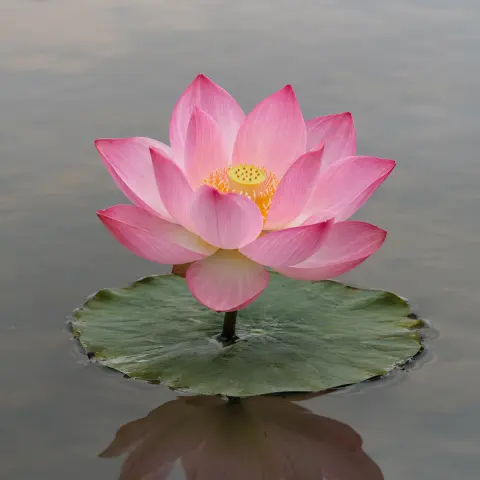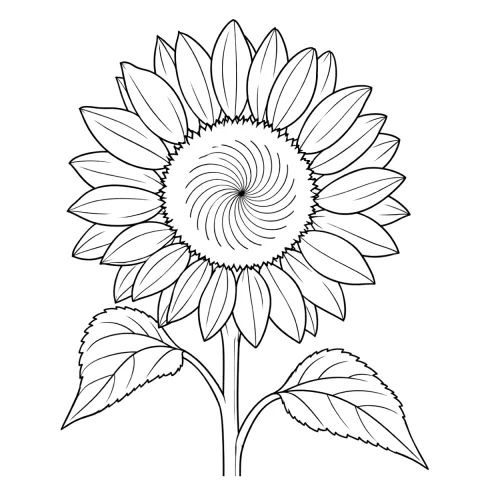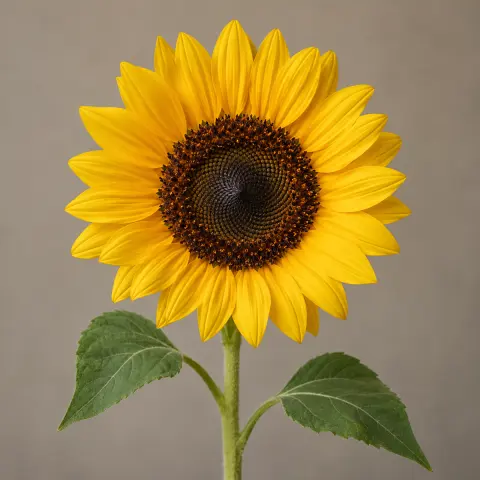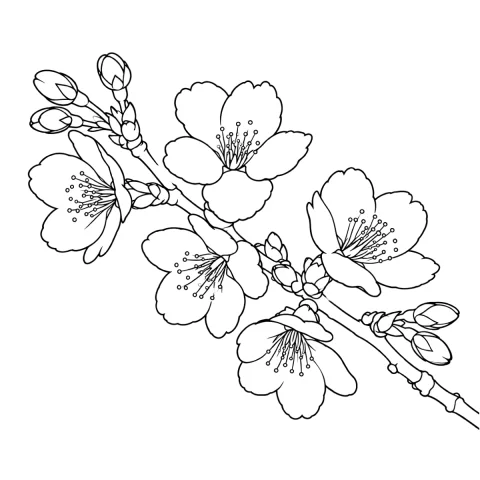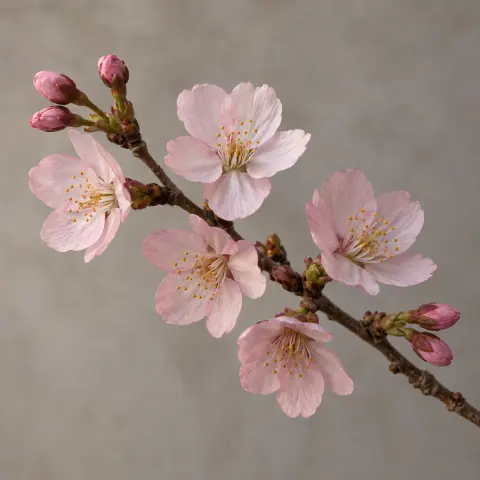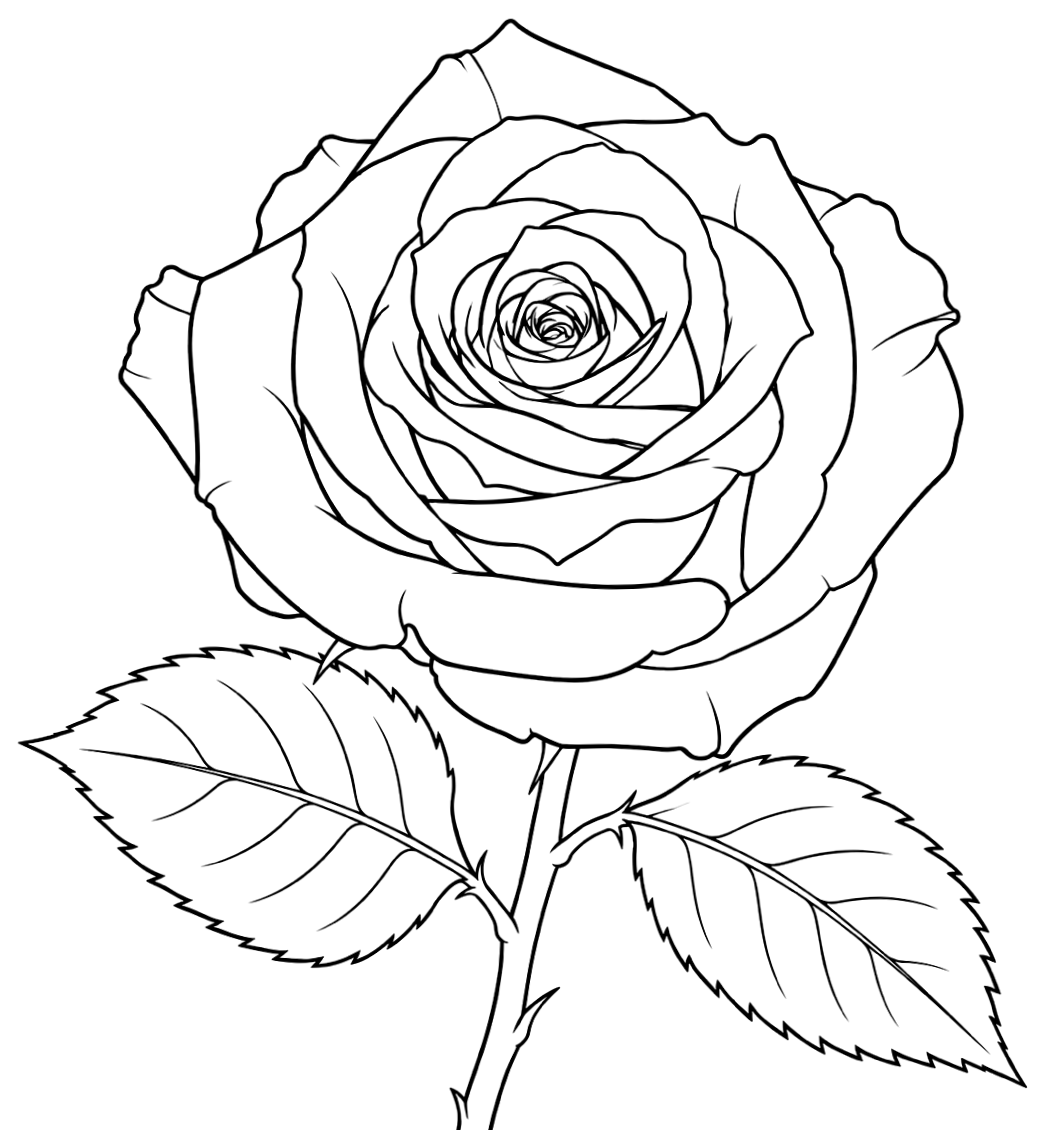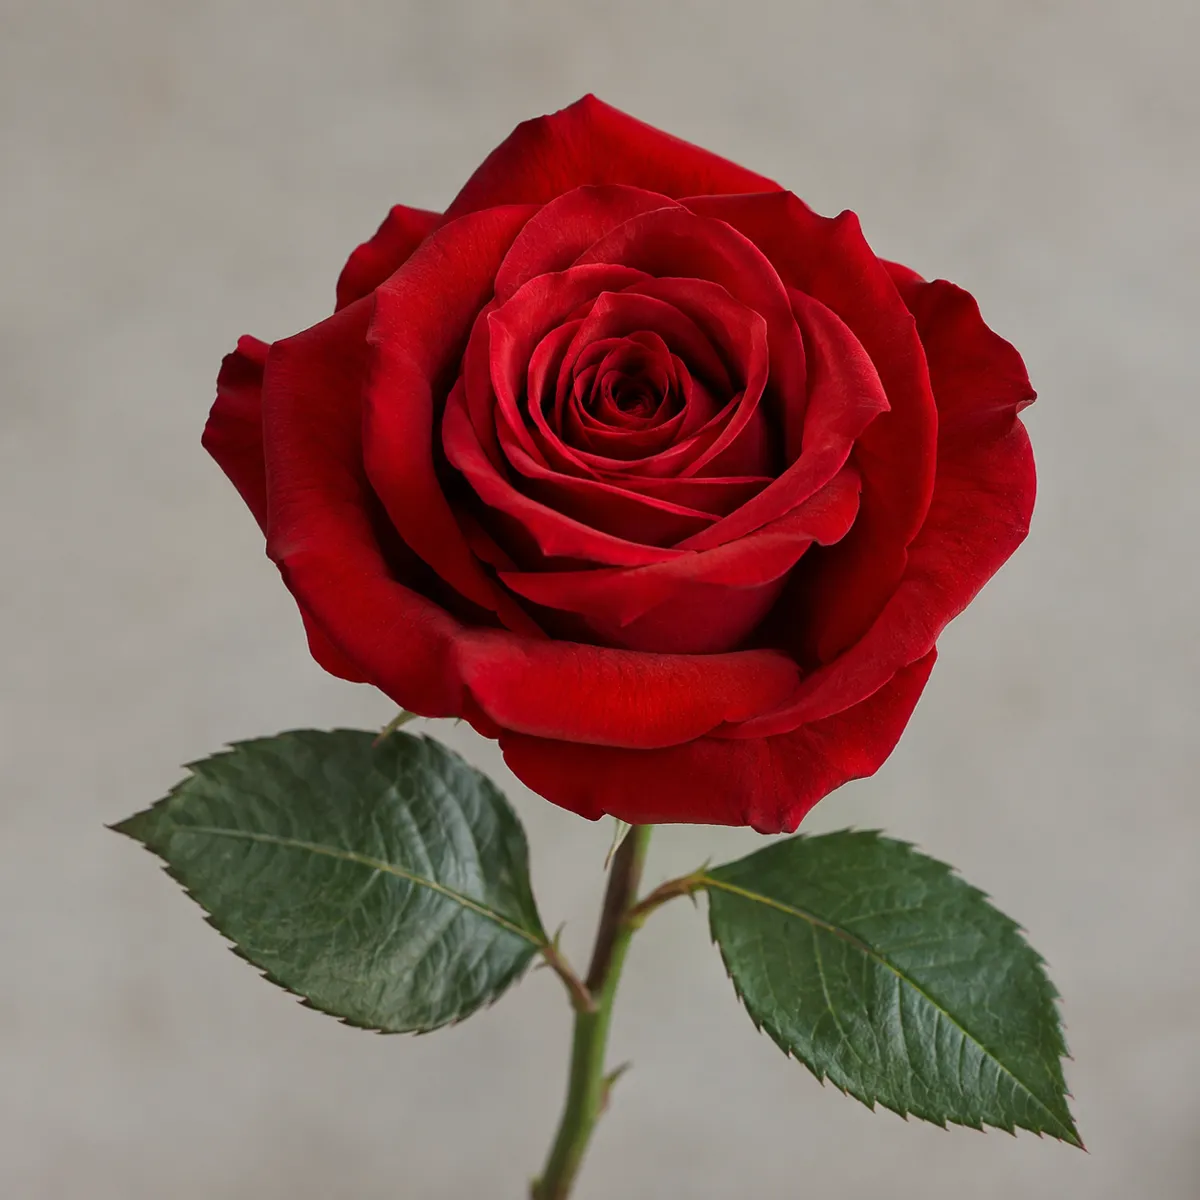
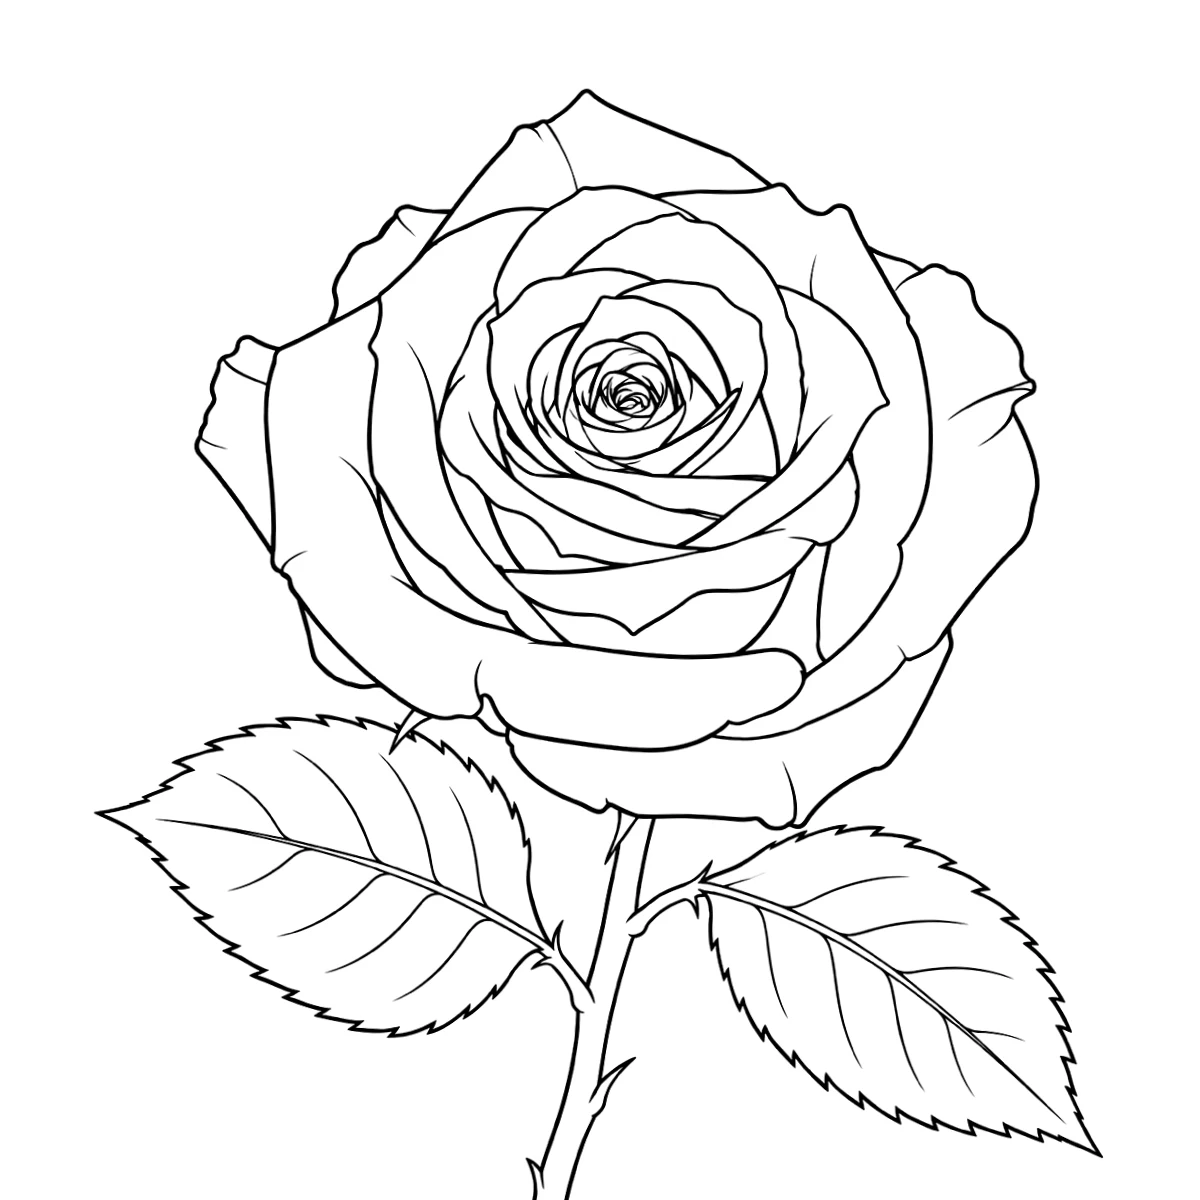
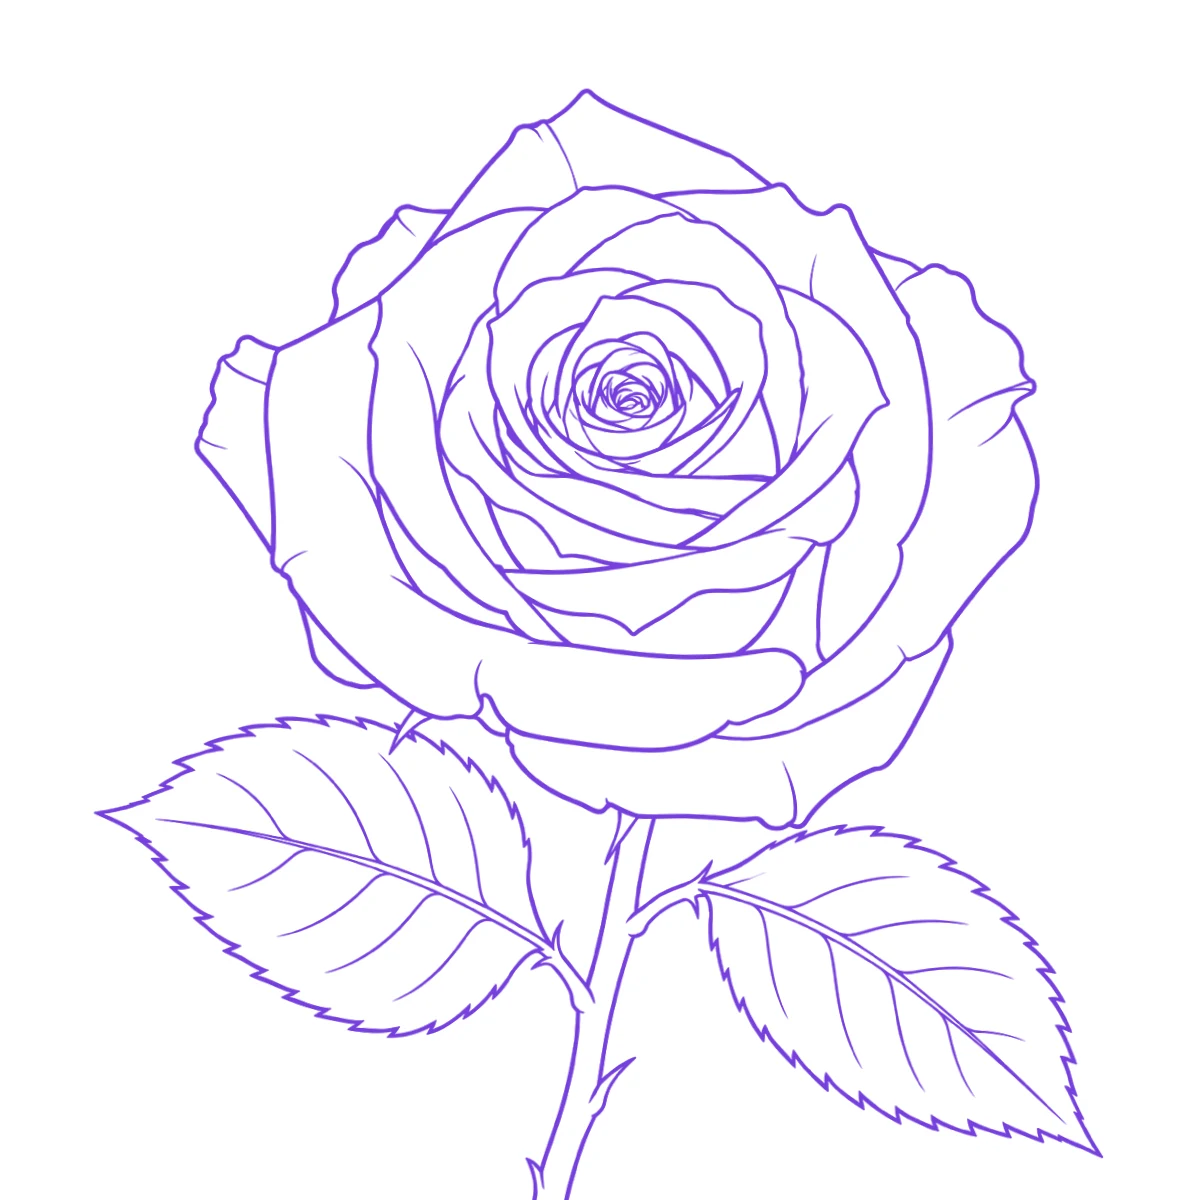
The reference photo and this stencil are AI-generated examples made for this library — not a client photo, and not InkLine output.
Free printable stencil · Flowers
Rose tattoo stencil
This rose tattoo stencil is a single open rose seen from the front, with a tight spiral at the center, rolled outer petals, two serrated leaves and a short thorned stem. Every petal is a closed outline with no shading, so it takes black and grey, color or a bold traditional line equally well, and suits a forearm, the chest or the back of the hand.
Print it at true size
Type the width you want on skin and print. In the print dialog choose 100 % or “Actual size” — “Fit to page” rescales it.
Bigger than one sheet? Split it across pages with the free stencil tiler
Free to print and tattoo, for yourself or your clients. Can I use these stencils?
What to trace, what to simplify
The design is held by the outer silhouette of the bloom, the edges of the big petals that wrap the cup, and the curl of the spiral at the center — transfer those exactly, because a misplaced petal edge is what makes a rose read as a cabbage. The leaf outlines and the stem, thorns included, come next. The leaf veins are guides for shading direction, not lines you must tattoo. When the rose goes under about 7 cm (3 in) across, the inner spiral turns into a dark knot: replace it with two or three curls and drop the veins entirely.
Size and placement
The printed rose reads cleanly at 10–15 cm (4–6 in) tall with its leaves, which fits the outer forearm or one side of the chest. For the back of the hand, 6–8 cm (2.5–3 in) is the usual range: print the bloom on its own, keep the outer petals and a simplified center, and cut the leaves to one or let them go. Above 15 cm (6 in) there is room to follow every vein as drawn.
From print to skin
Print
Thermal stencil paper through a stencil printer, or plain paper you trace onto hectograph paper by hand.
Prep the skin
Clean, shave and dry the area, then apply a thin, even coat of stencil transfer solution.
Transfer
Press the stencil flat, hold it for a few seconds, and peel it off in one move. Let it dry before you start.
Frequently asked questions
Should I tattoo the rose with its stem and leaves, or the bloom alone?
Either works, because the bloom is a closed shape on its own. With the stem and leaves the design is about as tall as it is wide and suits a forearm or chest; the bloom alone is rounder and more compact, and fits the back of a hand or a gap between existing pieces.
How do I stop the center of the rose from filling in?
Keep roughly 1 mm (1/16 in) of open skin between the spiral lines on the finished size. If scaling the print down pushes the curls closer than that, redraw the center with fewer, wider turns before you transfer — lines that crowd each other tend to spread into one dark spot as the tattoo heals.