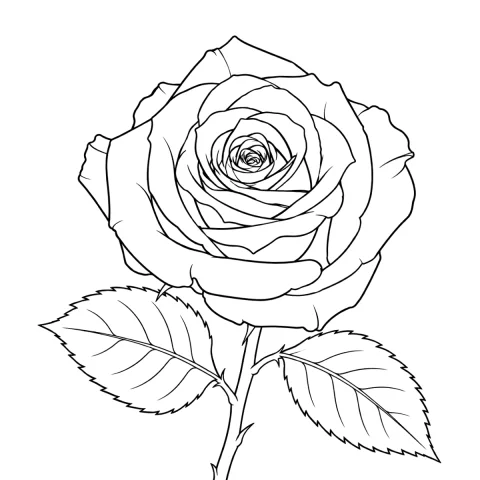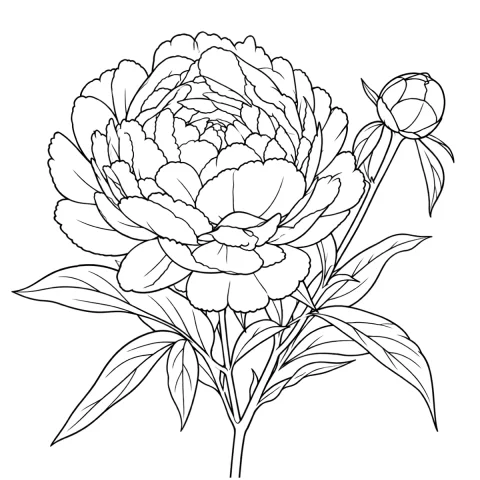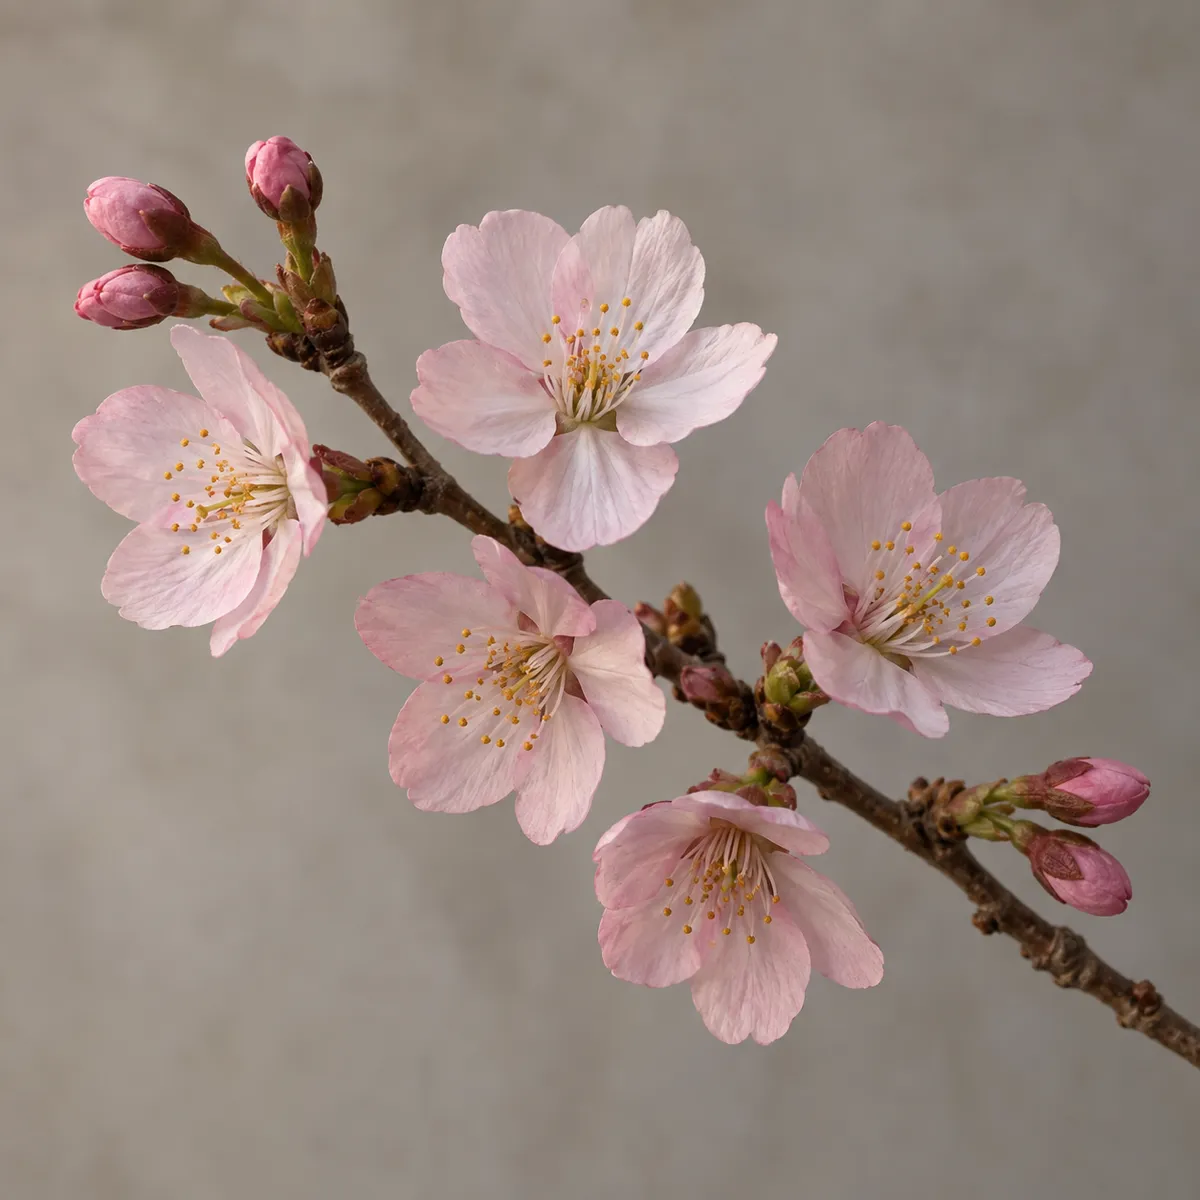
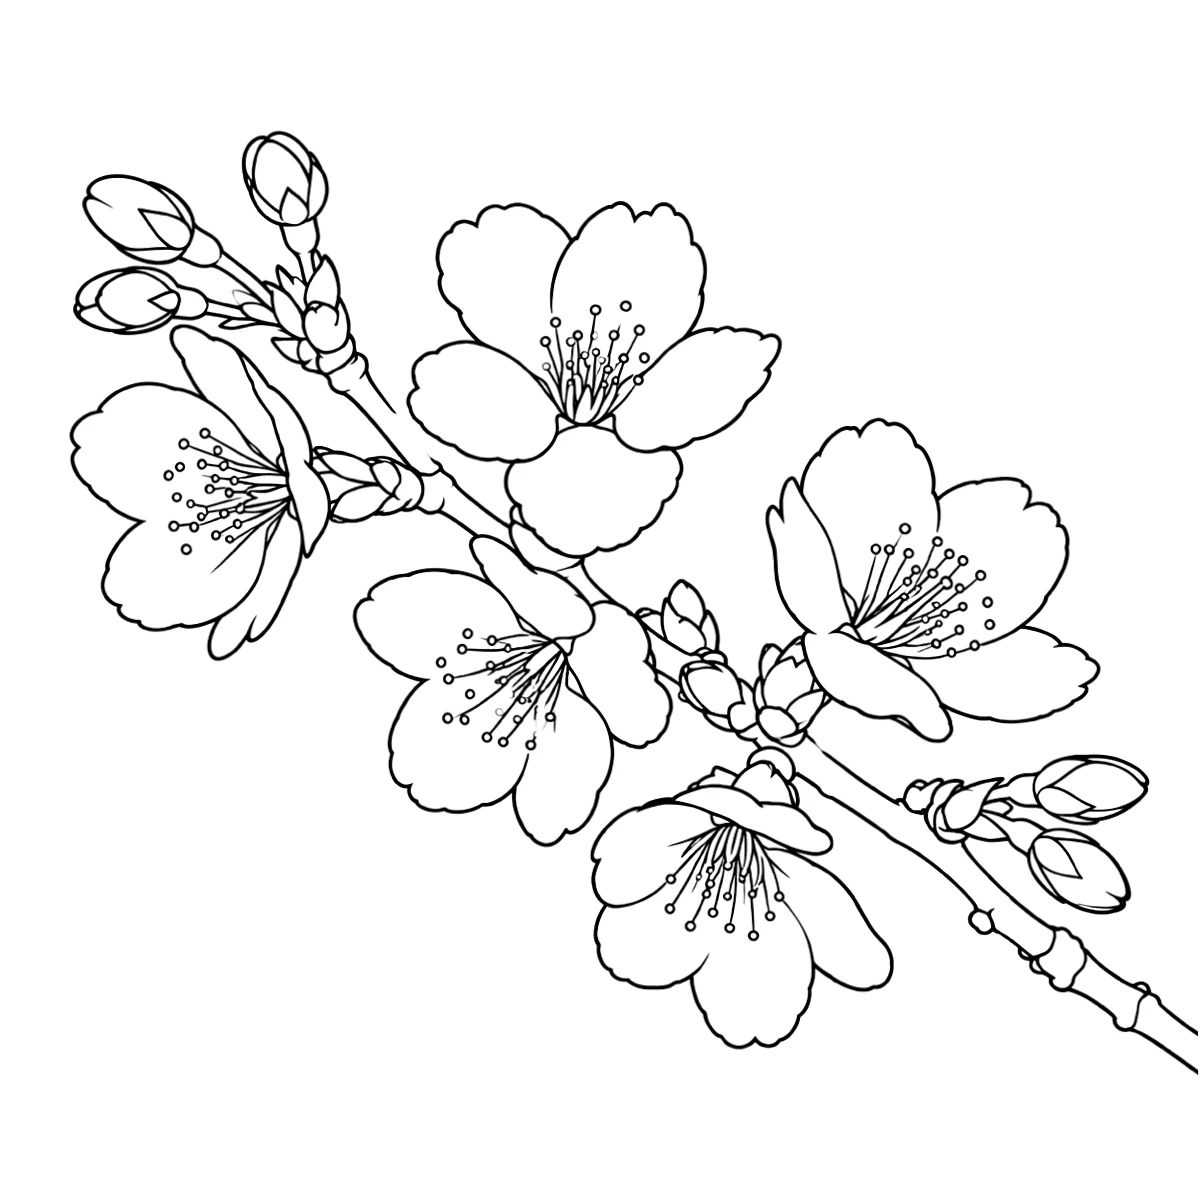
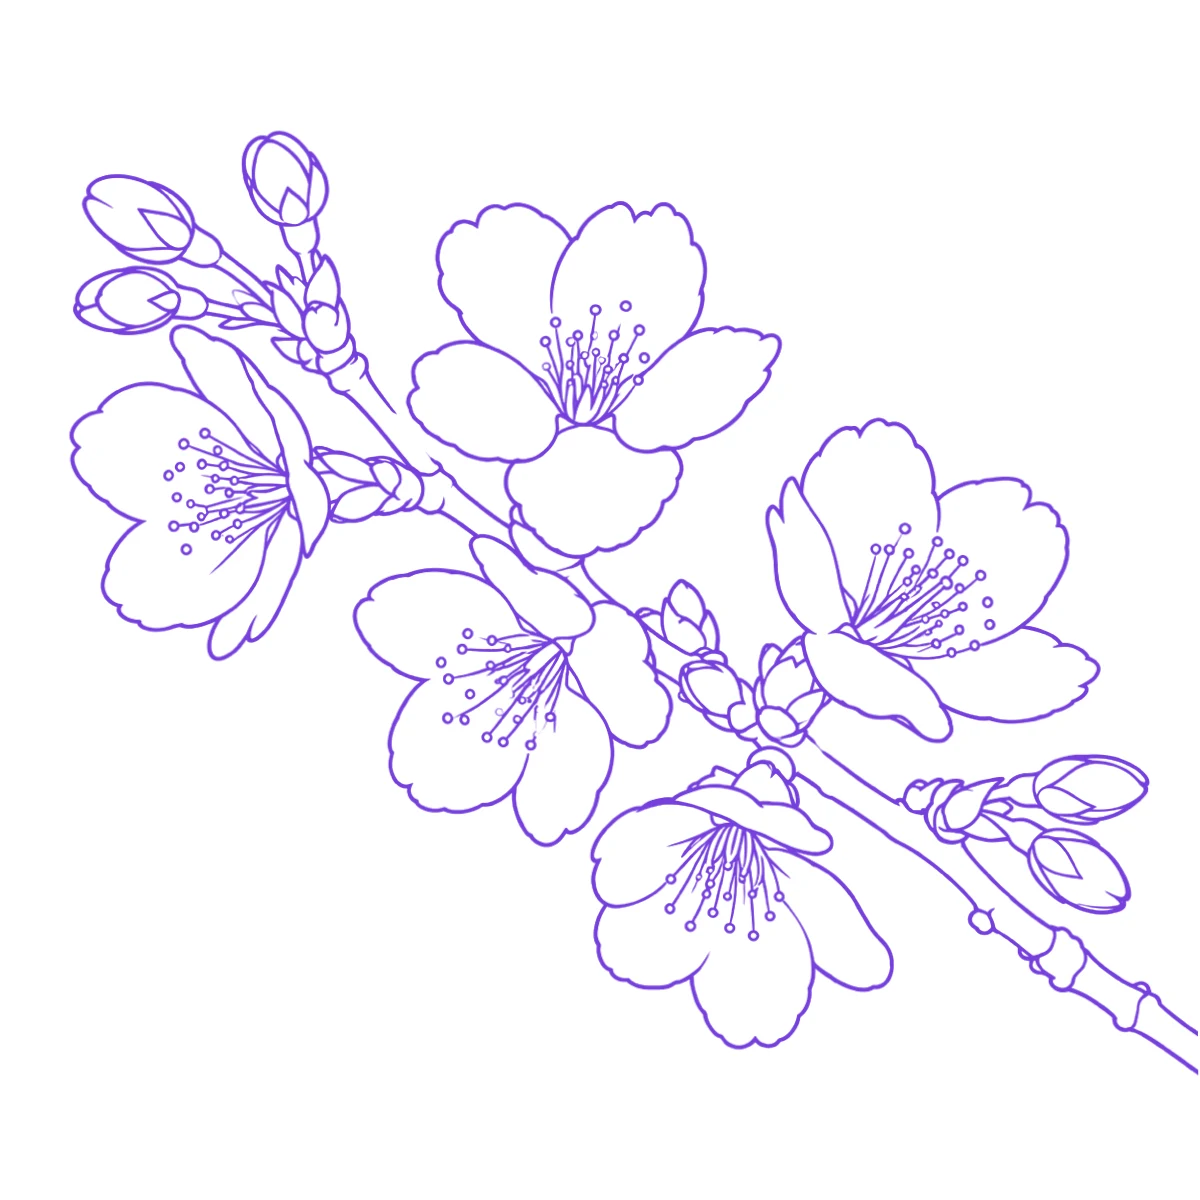
The reference photo and this stencil are AI-generated examples made for this library — not a client photo, and not InkLine output.
Free printable stencil · Flowers
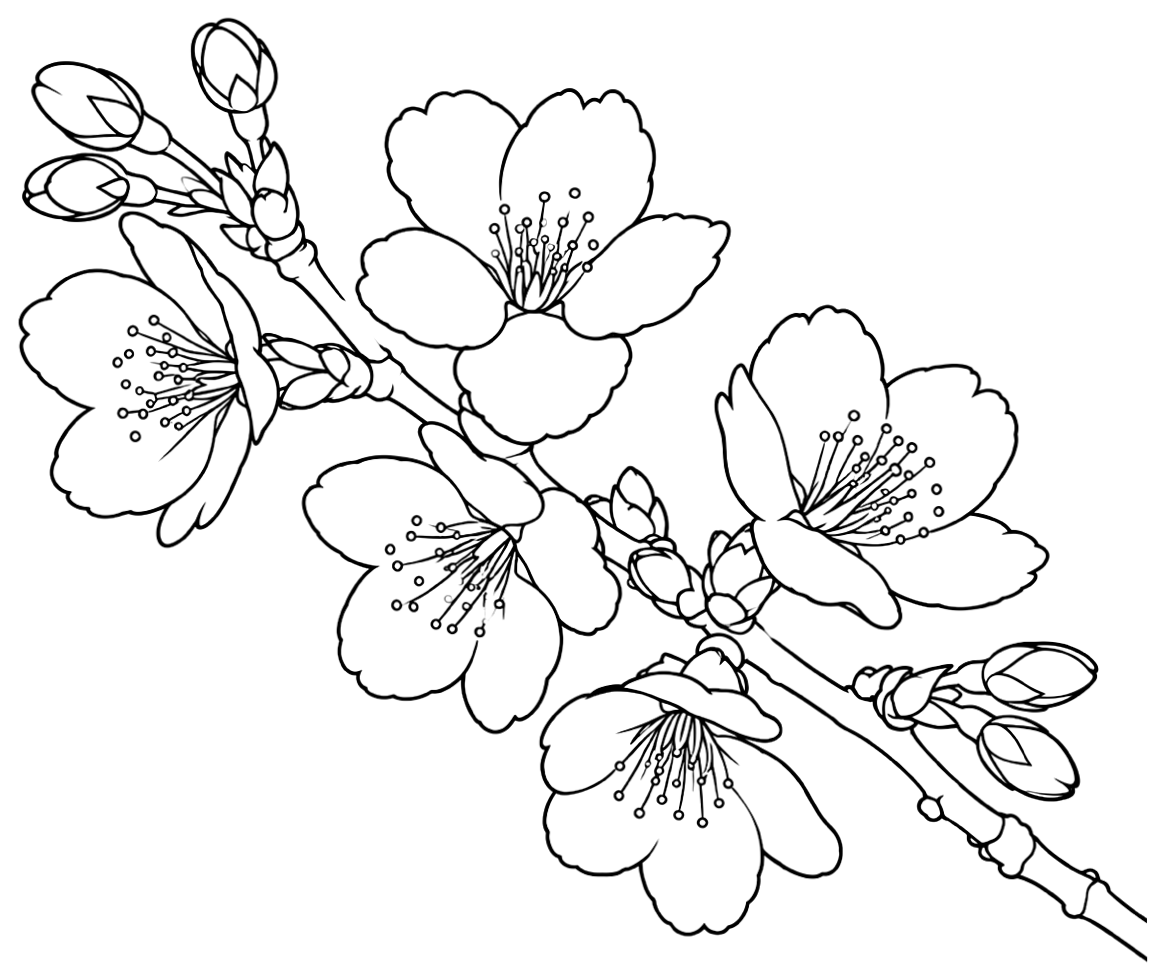
Cherry blossom tattoo stencil
This cherry blossom tattoo stencil is a short branch running diagonally from upper left to lower right, carrying five open flowers, clusters of closed buds at both ends and knotted bark along the stem. Each flower has five notched petals around a spray of fine stamens. The diagonal follows a collarbone, the side of the ribs or a shoulder blade, and suits Japanese, watercolor or fine minimal work.
Print it at true size
Type the width you want on skin and print. In the print dialog choose 100 % or “Actual size” — “Fit to page” rescales it.
Bigger than one sheet? Split it across pages with the free stencil tiler
Free to print and tattoo, for yourself or your clients. Can I use these stencils?
What to trace, what to simplify
The petal outlines carry the design, notches included: the small nicks at the petal tips are what separate a cherry blossom from a plum or apple blossom, so transfer them exactly. The branch contour and the bud shapes come next; the knots and rings in the bark are guides for shading. The stamens are the fine detail — each is a thin line ending in a tiny circle — and below about 12 cm (5 in) wide they close into a dark blot. Replace them with a few dots around each center, or leave the centers open.
Size and placement
The branch is wider than it is tall and runs on a diagonal, so measure it along its length: 15–22 cm (6–9 in) follows the collarbone, the side of the ribs or a shoulder blade. For a smaller piece, cut the branch after the second or third flower instead of shrinking the whole print — one flower with a pair of buds holds down to about 5 cm (2 in) once its stamens become dots.
From print to skin
Print
Thermal stencil paper through a stencil printer, or plain paper you trace onto hectograph paper by hand.
Prep the skin
Clean, shave and dry the area, then apply a thin, even coat of stencil transfer solution.
Transfer
Press the stencil flat, hold it for a few seconds, and peel it off in one move. Let it dry before you start.
Frequently asked questions
Can I extend the cherry blossom branch to fit a longer placement?
Yes. The branch runs off the lower right edge of the print, so it is open-ended by design: continue the stem freehand along the collarbone or down the ribs, and add buds or a flower at the joints. Keep new flowers the same size as these so the spacing along the branch stays even.
How do I tattoo the cherry blossoms in black and grey instead of pink?
Leave the petals mostly as open skin and put the tone into the branch, the buds and a soft shadow where petals overlap near each center. Pale flowers against a darker branch still read as blossom; shading every petal gray makes the flowers look heavy. Keep the stamens as fine lines or dots.