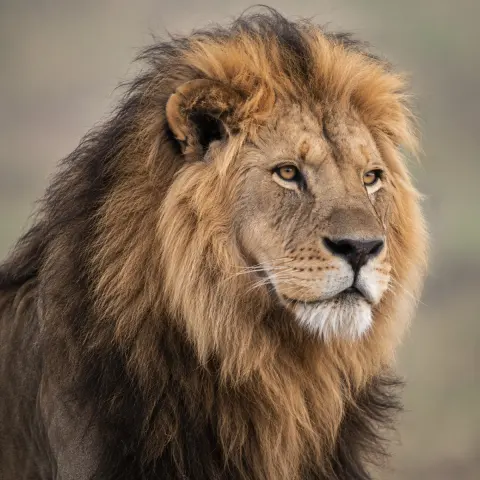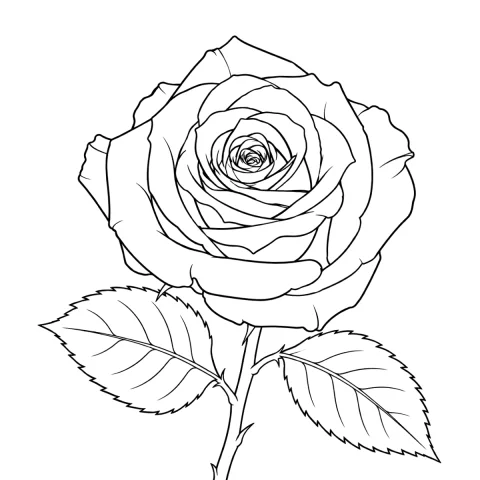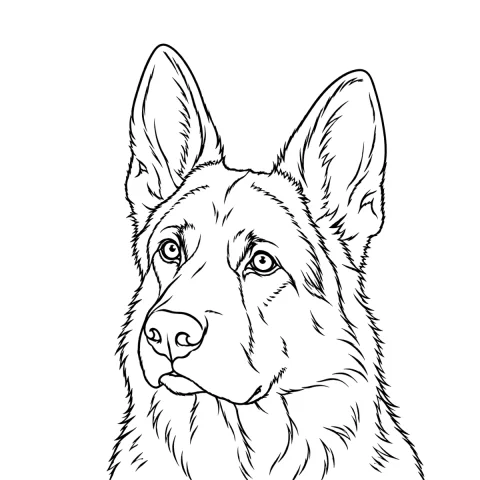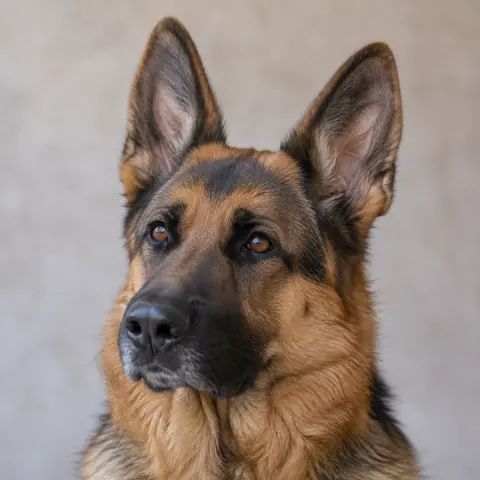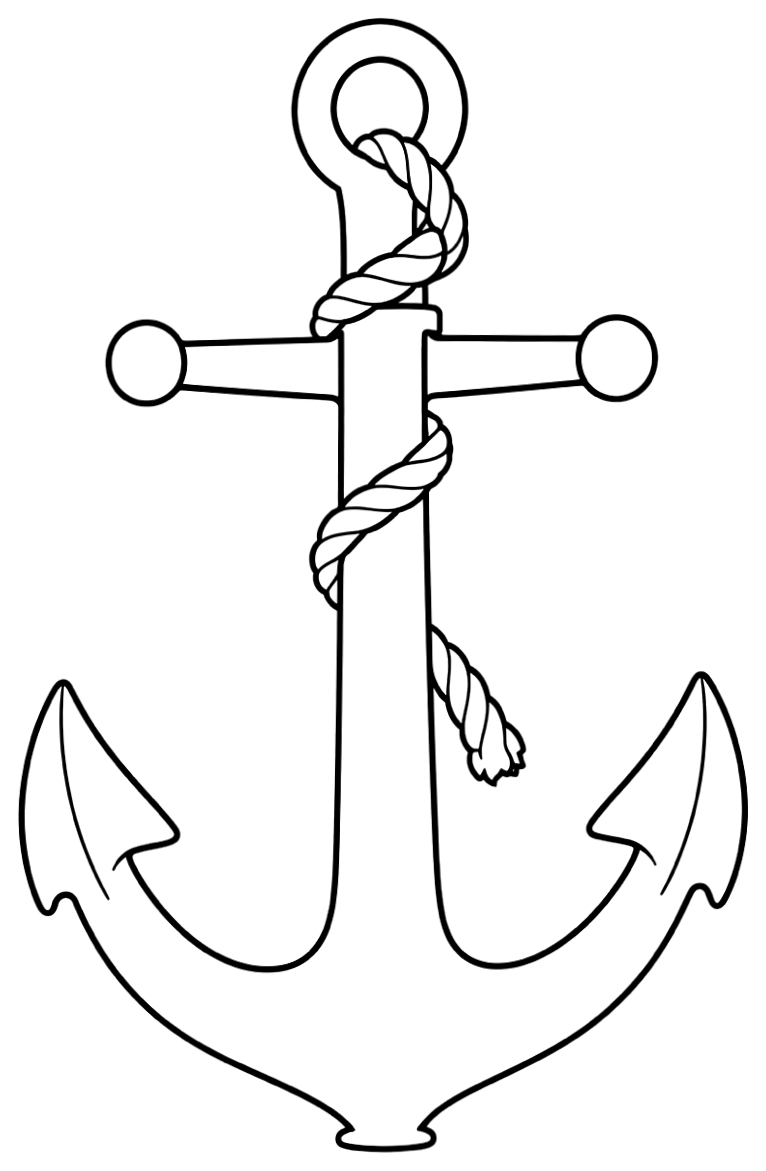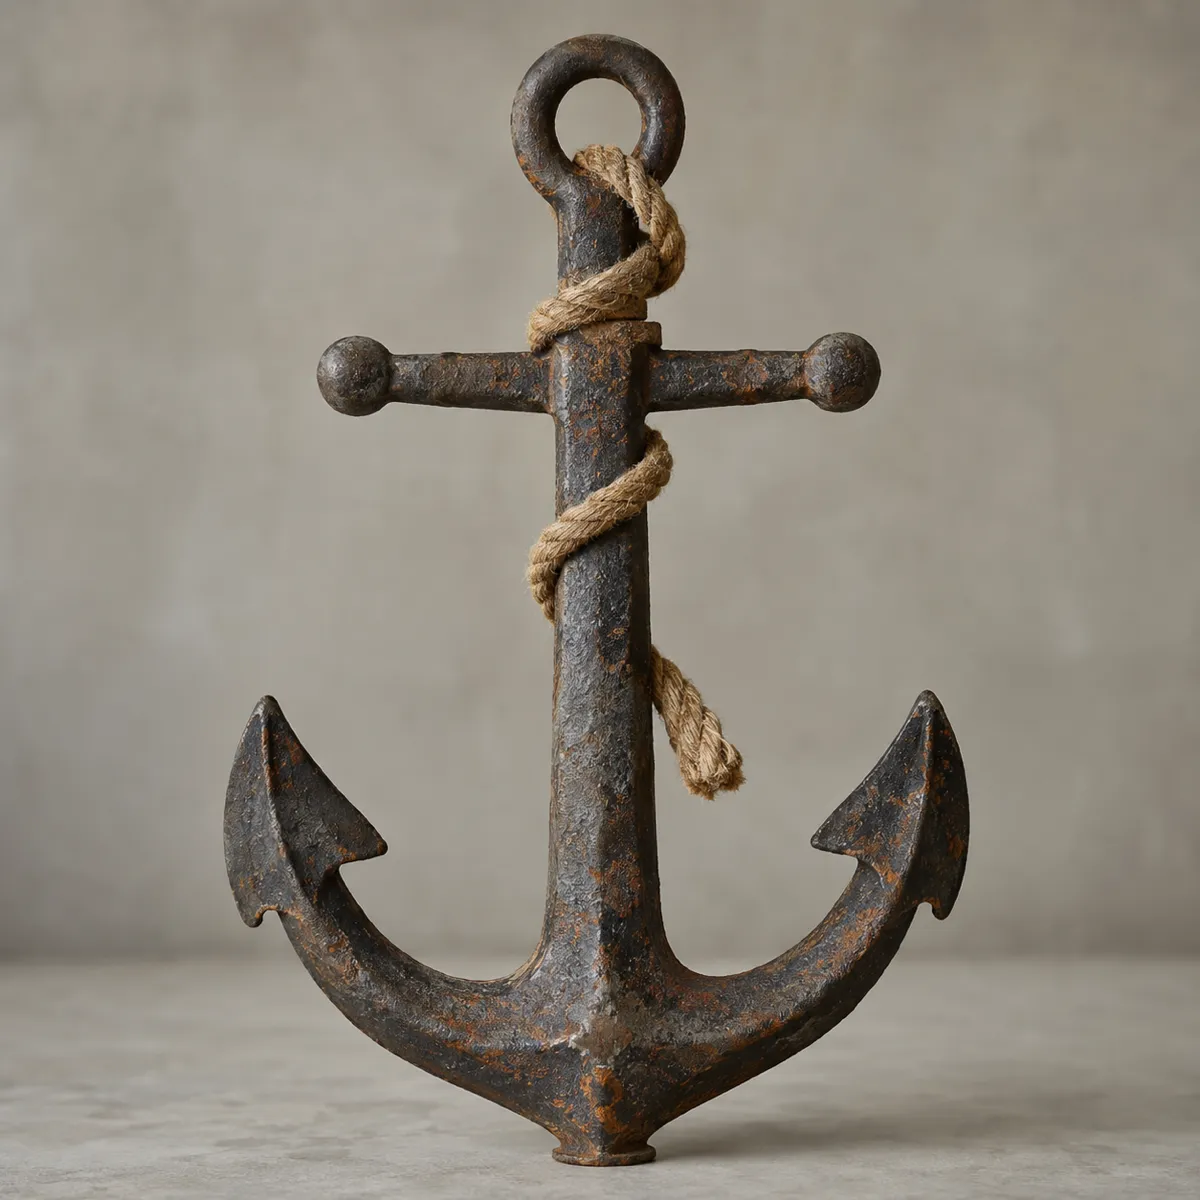
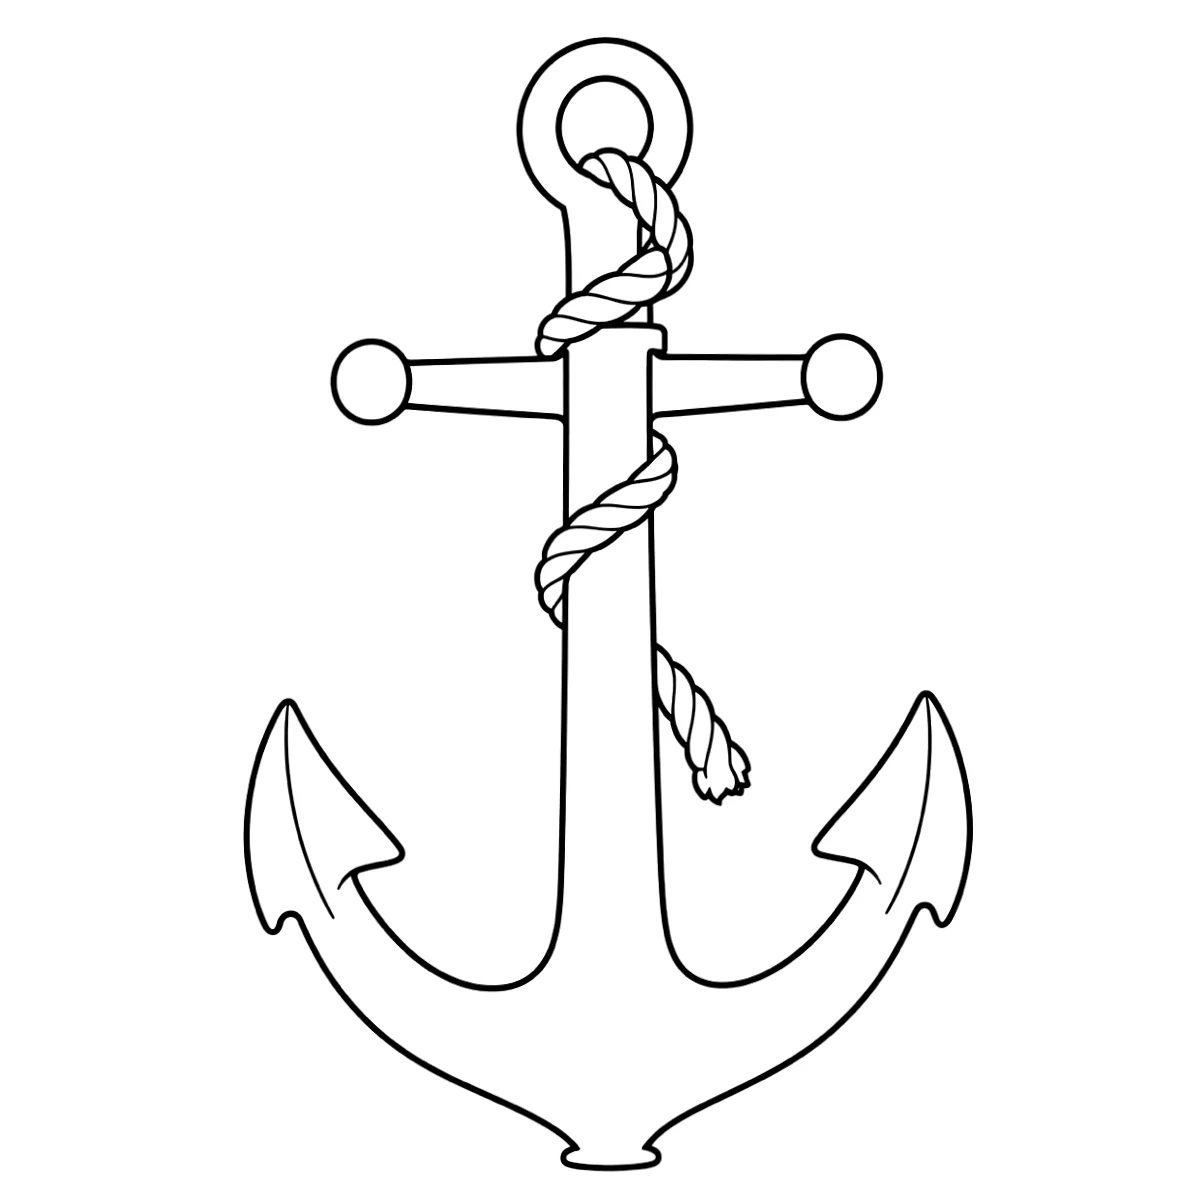
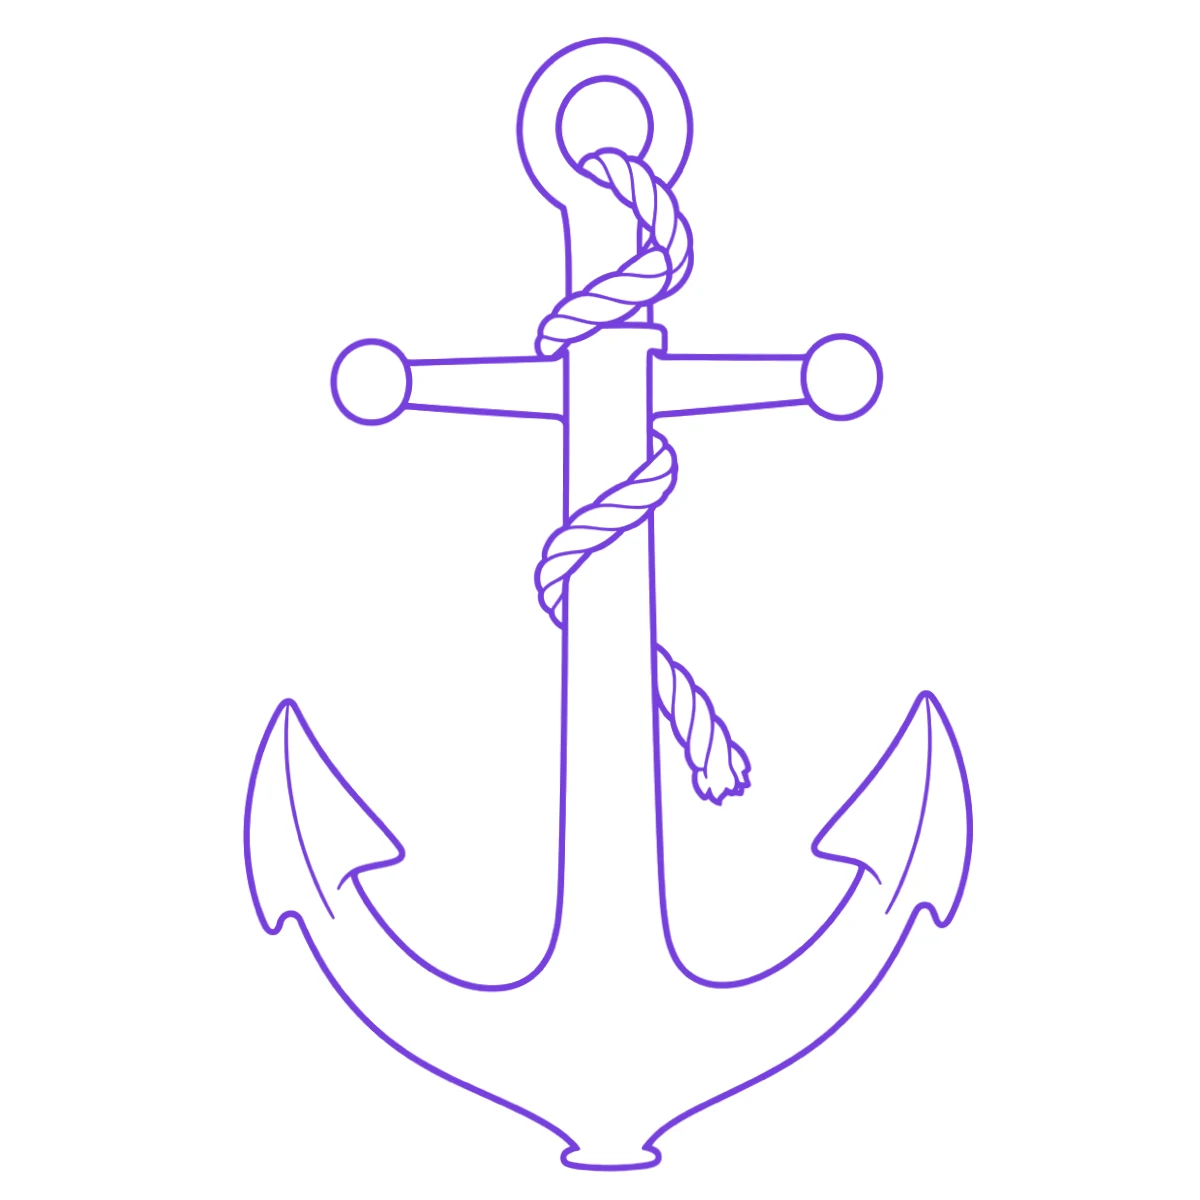
The reference photo and this stencil are AI-generated examples made for this library — not a client photo, and not InkLine output.
Free printable stencil · Symbols
Anchor tattoo stencil
This anchor tattoo stencil is a ship’s anchor seen straight on — a ring at the top, a stock with ball ends, a long shank and two curved arms ending in arrowhead flukes — with a twisted rope threaded through the ring, wound twice around the shank and hanging loose with a frayed end. It is a clean, symmetrical outline that suits the forearm, wrist or chest.
Print it at true size
Type the width you want on skin and print. In the print dialog choose 100 % or “Actual size” — “Fit to page” rescales it.
Bigger than one sheet? Split it across pages with the free stencil tiler
Free to print and tattoo, for yourself or your clients. Can I use these stencils?
What to trace, what to simplify
The anchor’s outline carries the design, and its symmetry is what the eye checks first: transfer the shank, the stock and both arms exactly, and line the stencil up on a true vertical before you press it on. The ring and the ball ends of the stock come next. The rope is a separate shape that passes in front of the shank and disappears behind it; keep those overlaps clean, or rope and iron merge into one. The short twist lines on the rope and the inner line along each arm are the first detail to drop, below about 6 cm (2.5 in) tall.
Size and placement
The anchor is about one and a half times as tall as it is wide and has few lines, so it holds up smaller than most designs. At 10–15 cm (4–6 in) tall it fits the outer forearm or one side of the chest. At 5–7 cm (2–3 in) it works on the inner wrist, as long as the rope becomes a plain band without its twist lines.
From print to skin
Print
Thermal stencil paper through a stencil printer, or plain paper you trace onto hectograph paper by hand.
Prep the skin
Clean, shave and dry the area, then apply a thin, even coat of stencil transfer solution.
Transfer
Press the stencil flat, hold it for a few seconds, and peel it off in one move. Let it dry before you start.
Frequently asked questions
Can I leave the rope off the anchor?
Yes. Where the rope crosses the shank and the ring, close the edges of the iron with straight lines so no gap is left behind. Without the rope the anchor is fully symmetrical and reads well even very small; with it, the diagonal coils add movement and break up the long, plain shank.
How do I make the anchor’s rope look twisted rather than striped?
Keep the twist lines parallel, evenly spaced and all leaning the same way, as they are on the stencil, and run each one fully from edge to edge of the rope. Shade one side of each strand darker than the other. At a small size, draw fewer twists at the same angle rather than crowding them.