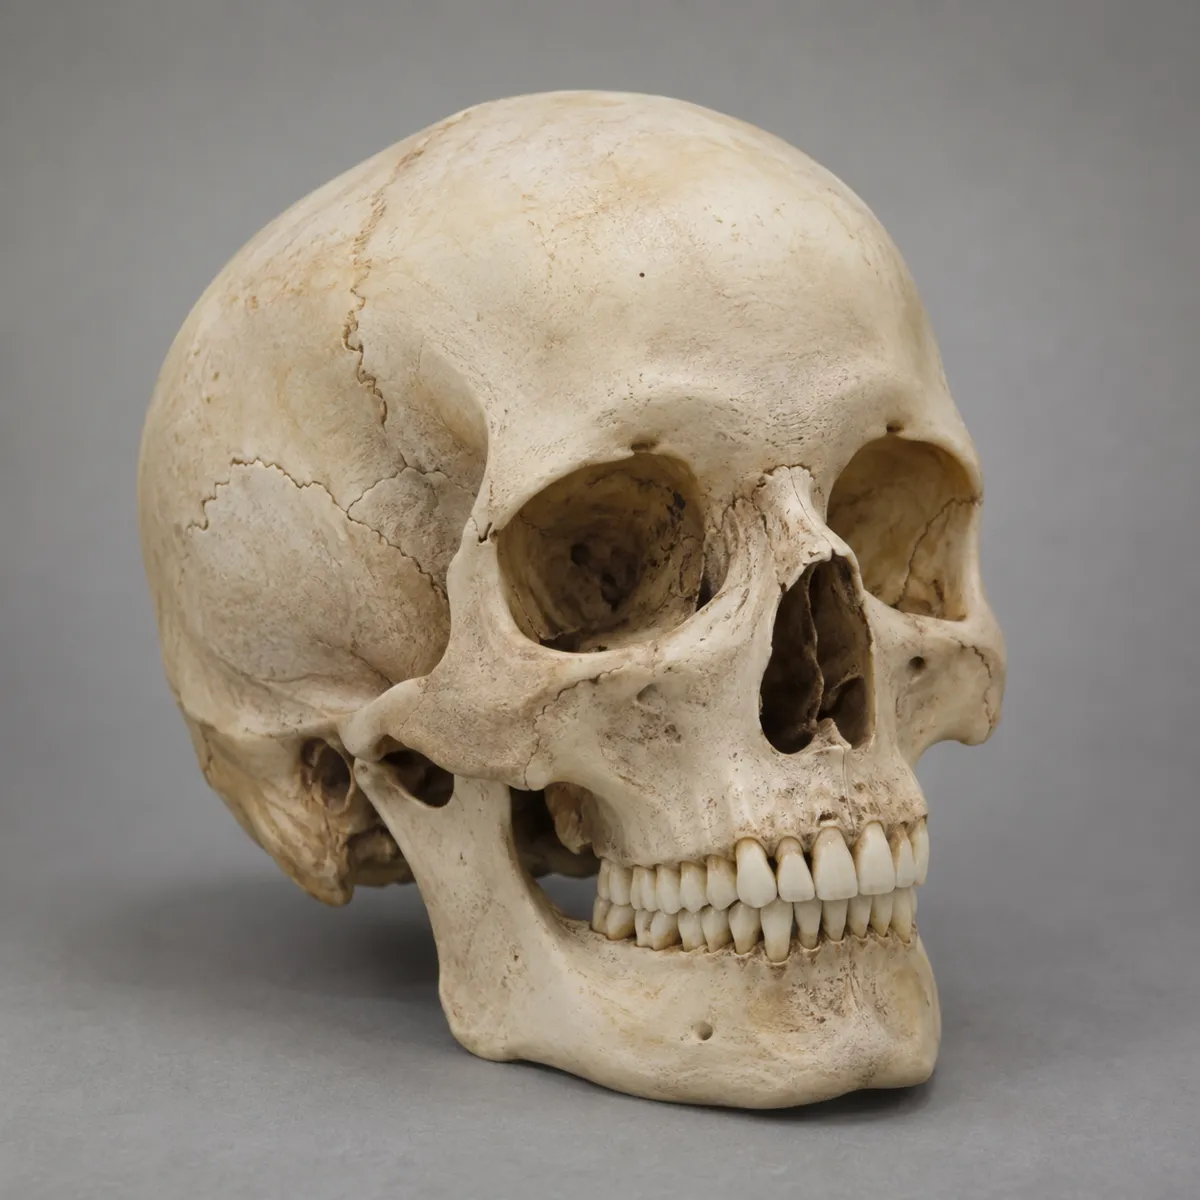
The reference photo and this stencil are AI-generated examples made for this library — not a client photo, and not InkLine output.
Free printable stencil · Symbols
Skull tattoo stencil
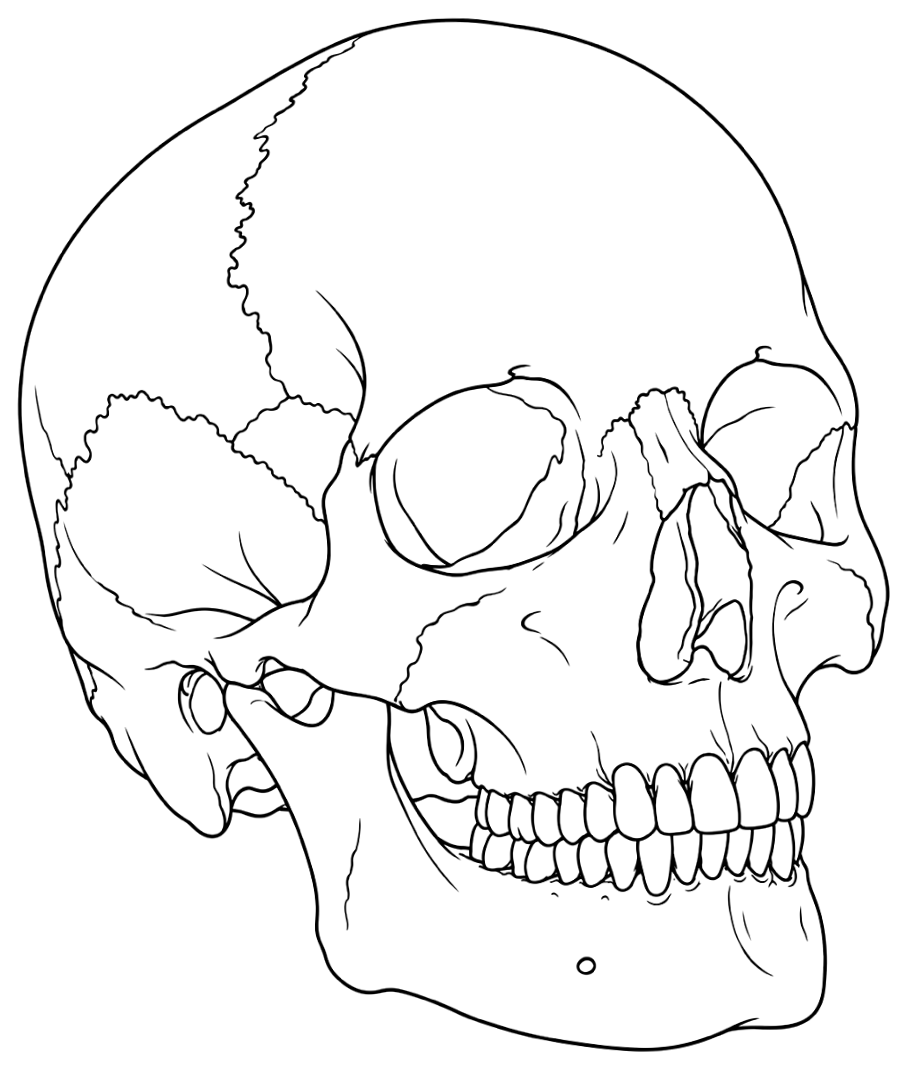
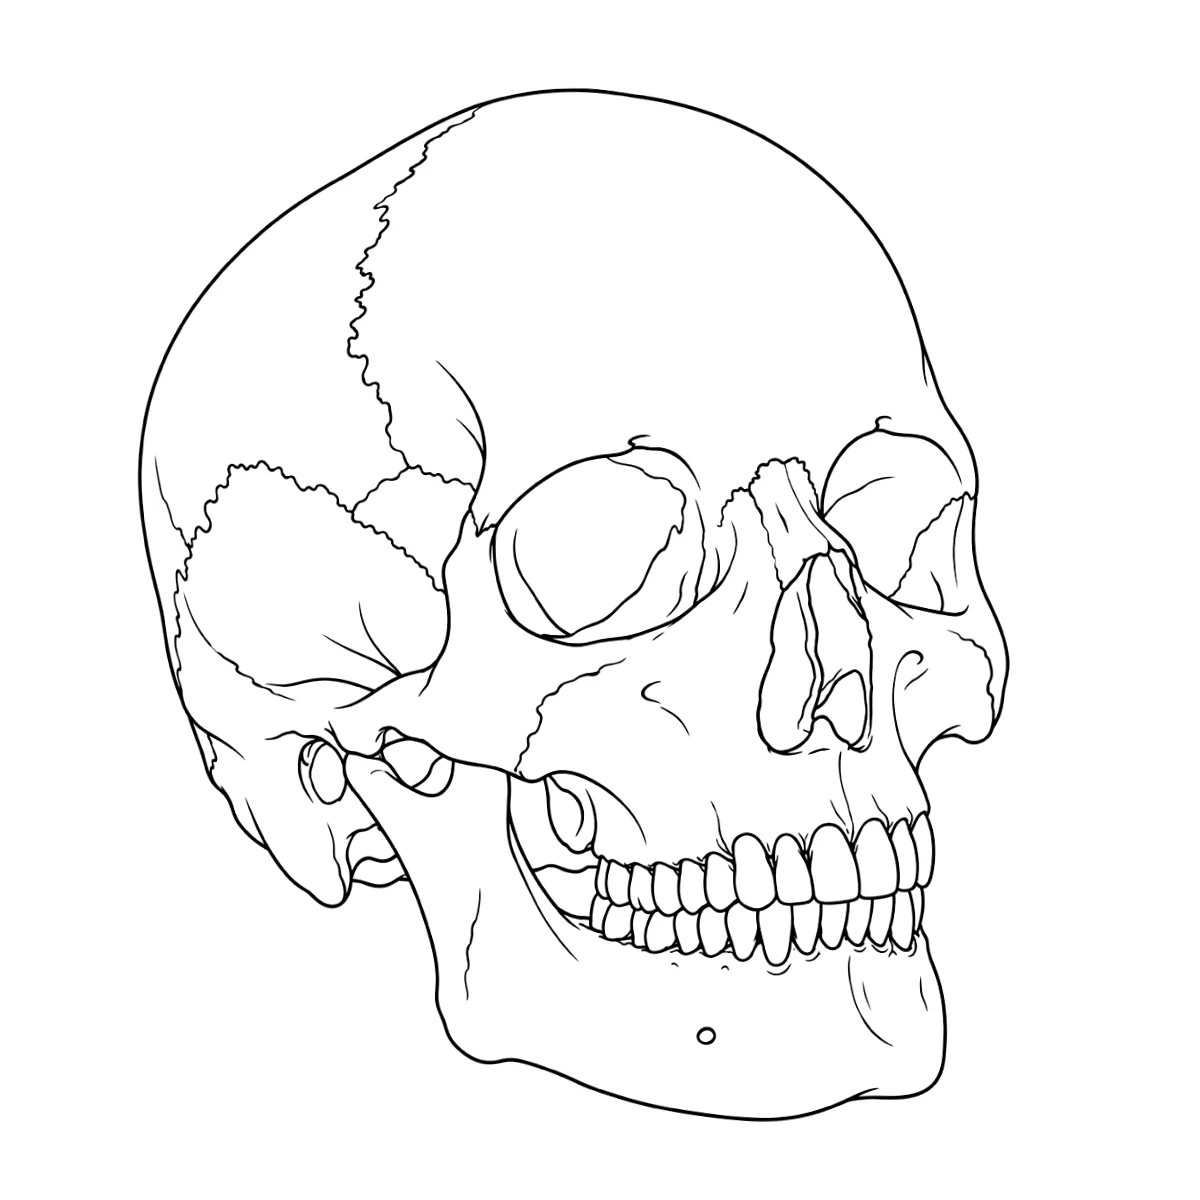
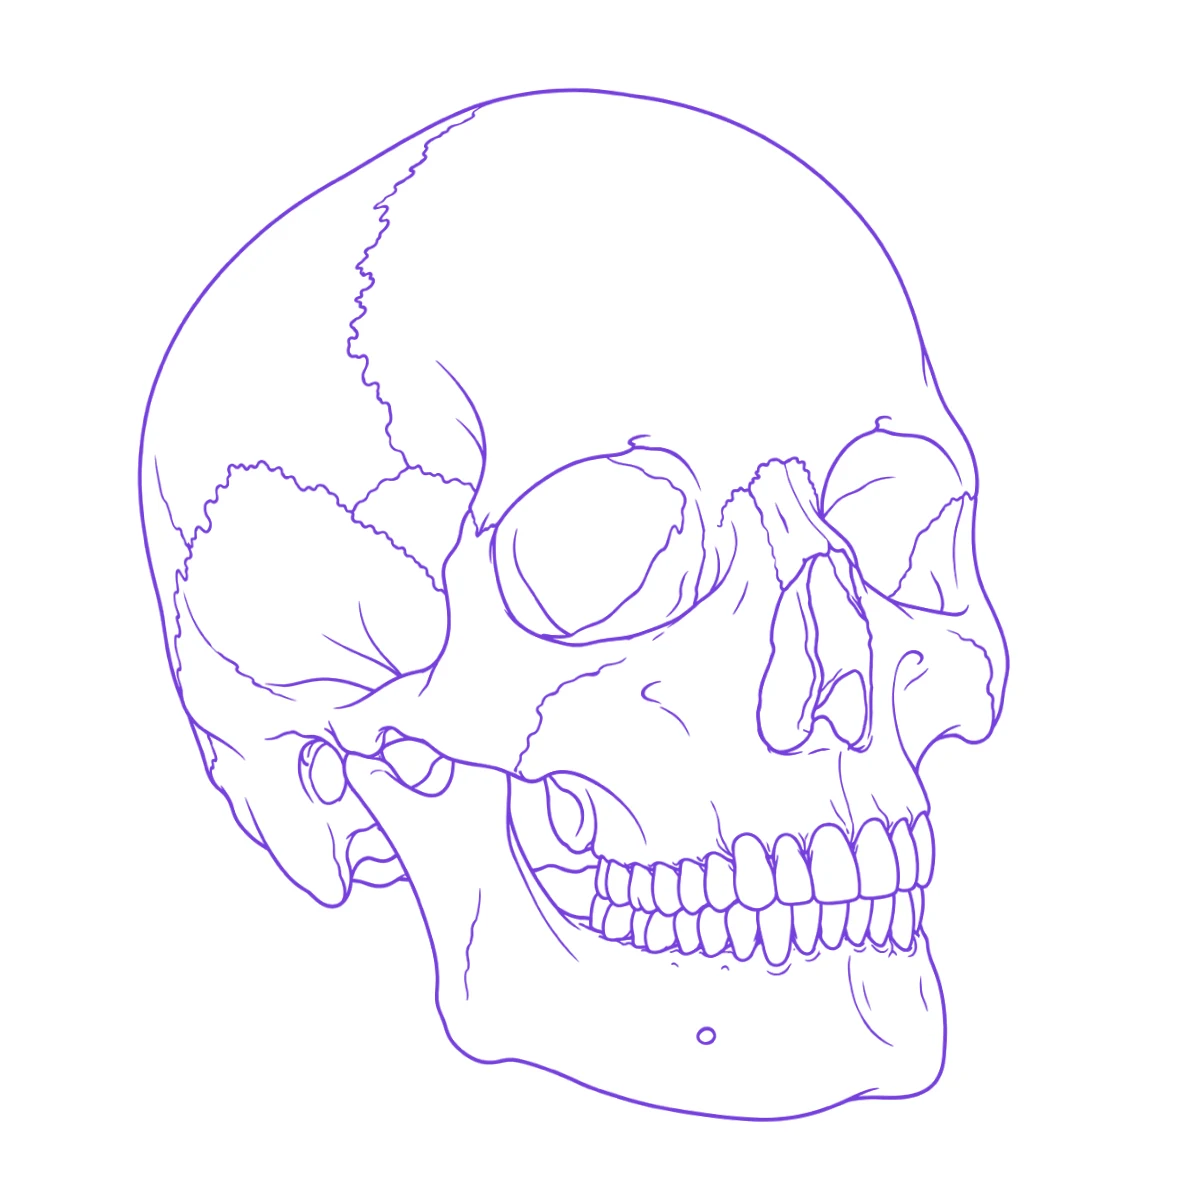
This skull tattoo stencil is an anatomical human skull in three-quarter view, turned to the right with the jaw closed, with the sutures, eye sockets, nasal opening, cheekbone and every tooth outlined. It is drawn accurately rather than stylized, which makes it a solid base for realism or blackwork on a forearm, a calf or the back of a hand.
Print it at true size
Type the width you want on skin and print. In the print dialog choose 100 % or “Actual size” — “Fit to page” rescales it.
Bigger than one sheet? Split it across pages with the free stencil tiler
Free to print and tattoo, for yourself or your clients. Can I use these stencils?
What to trace, what to simplify
The skull is carried by its big shapes: the dome of the cranium, the two eye sockets, the nasal opening and the cheekbone running back toward the ear. Transfer those exactly — their spacing is what makes it read as a real skull rather than a cartoon one. The jaw outline and the row of teeth come next, and the teeth need clean separations. The wavy suture lines are optional detail and the first thing to drop below about 9 cm (3.5 in), along with the small hole drawn on the lower jaw.
Size and placement
At 10–15 cm (4–6 in) tall the teeth stay individually readable and the sutures have room, which fits the outer forearm or the calf. On the back of a hand, 6–8 cm (2.5–3 in) is the practical size: keep the cranium, sockets, nose and jaw outline, and draw the teeth as a simple row of blocks. The compact, rounded shape also sits well inside a larger sleeve.
From print to skin
Print
Thermal stencil paper through a stencil printer, or plain paper you trace onto hectograph paper by hand.
Prep the skin
Clean, shave and dry the area, then apply a thin, even coat of stencil transfer solution.
Transfer
Press the stencil flat, hold it for a few seconds, and peel it off in one move. Let it dry before you start.
Frequently asked questions
Do I have to tattoo the wavy lines on the skull?
No. They are the cranial sutures, the joins between the bones of the skull, and they add realism at larger sizes. In a small or bold piece they read as cracks, so leave them out or turn them into soft shading edges rather than tattooing them as hard lines.
Is this skull stencil anatomically accurate?
It follows its reference photo, which is itself an AI-generated example, so treat it as a close, believable skull rather than a medical reference. For a tattoo, the proportions that matter are the size of the eye sockets against the cranium, the cheekbone and the tooth row, and those are drawn as in the photo.